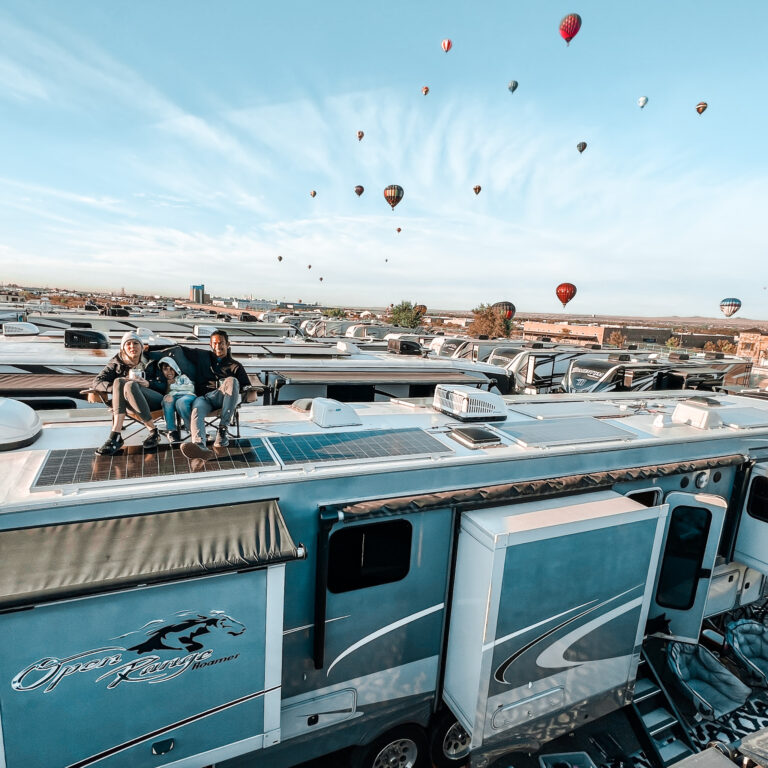
If you’re like most RV owners, your motorhome or travel trailer is your pride and joy. It’s the key that unlocks adventure. It’s your home away from home that makes every destination feel comfortable and gets you amped up to explore.
But anyone who’s been on the road for longer than a couple of days knows RV maintenance is basically unavoidable. After all, it’s a house that moves. Technology is amazing, but we’re talking about a big, heavy vehicle with some super complicated systems. A few things are bound to go wrong from time to time!
What’s worse, RV maintenance and repair costs aren’t exactly known for their affordability. Even when you’re working with a trustworthy mechanic, you can find yourself spending a lot on simple repairs.
Fortunately, this is the age of the internet… which means you have access to lots of RV maintenance information. You can even find step-by-step RV maintenance tutorial videos on YouTube to help walk you through the process.
Along with learning how to DIY simple repairs, this post will share which RV maintenance will keep your rig issue-free in the first place. A bit of regular effort goes a long way toward keeping your rig rolling for many years and trips to come.
It may take a little bit of elbow grease… but we promise it’ll be worth it.
Common RV Maintenance Problems and How to Fix Them
RV camping is a pretty amazing, high-tech travel lifestyle — but it’s actually been around for about a century. You can learn more about the fascinating history of RVing in this RVshare post.
All that history gives us a good idea of which RV maintenance problems you’re most likely to face. Some mechanical breakdowns are simply more common than others. What’s more, many of the clever, handy campers in the RV world have shared how to take care of these maintenance issues. You can learn from them and avoid paying top dollar for professional repair services.
We’ve also learned a lot about the regular RV maintenance that will keep minor repair issues from blossoming into bigger problems.
Let’s start with some of the most common RV maintenance problems, and go over a few of the easiest troubleshooting and prevention steps.

RV Roof and Leak Repair
When it comes to RVing, water leaks aren’t just a scary possibility: they’re pretty much inevitable. Even the toughest modern-day motorhome finishes will eventually cave to the pressures of the elements. Sealants harden and crack with age and motion, no matter how high-tech and well-made they may be. This ever-present bogeyman can wreak some serious havoc on your camper. Water damage does more than just stain your interior. It can also damage delicate moving parts, rust out metal fixtures, and even cause dangerous short-circuiting in your RV’s internal electrical system.
So it’s important to get ahead of this constant threat and minimize your chances of water leaks before they happen. The good news is, it’s relatively easy to do so — it just takes a few preventative maintenance steps performed on a regular basis.
First of all, always store your RV under a waterproof, UV-resistant cover. If you can, an indoor storage facility — or at least one with a roof — is your best option. (Click here to see our archive of the best RV storage facilities across the United States.)
We know, however, that renting a covered storage facility slot isn’t always possible. In those cases, opt for a high-quality RV cover, which will help protect your investment even when it’s parked outdoors. When shopping for a cover, make sure you look for one that’s both waterproof and UV-resistant, which will help keep your finish as sound and seepage-free as possible. And keep in mind that, although these covers can cost several hundred dollars (depending on size and features), purchasing one is still a whole lot cheaper than doing major repairs after water damage. Plus, it’s a one-time expense, as opposed to the drawn-out cost of renting a storage facility or constantly performing repairs after your rig sustains water damage.
Another way to resist leaks for as long as possible is to apply a new coat of RV roof sealant once a year as a preemptive strike against broken seals. You probably already know that you can use Dicor or a similar product to tackle existing, localized leaks… but it’s better to stop them before they start in the first place.
Finally, take the time to thoroughly check your RV for water damage before and after every single trip, as well as when you put the rig into or take it out of storage. Look for signs of stains along every seam and seal on your rig’s interior, paying special attention to roof openings like your bathroom or kitchen vent fans and your RV air conditioner.
Although finding a leak would be a major bummer, learning about it as soon as possible will help you to mitigate large, or even irreparable, damages. Here’s our guide to checking your RV for water damage.
Minor Issues with your RV’s Electrical System
Let’s start with something very important. If you’re at all uncomfortable handling electrical issues, it’s a good idea to hire professional help. After all, with other DIY repairs, you run the risk of causing damage to your rig. But with electrical DIY repairs, you run the risk of causing yourself serious damage — possibly injury or even death.
But there are minor motorhome and travel trailer electrical problems that the average around-the-house handyman can take care of without serious intervention. Occasionally you’ll find the switches or push-buttons in your circuit breaker panel stop functioning. Replacing these is a minor procedure.
The same goes for the outlets you find throughout your RV’s interior. If you find one malfunctioning, it may be due to the common use of the clip-together style of receptacle by RV manufacturers. These receptacles cut through wires’ insulation, clipping to them in order to make contact and run an electrical current. They’re simple, and thus a money saver… but they’re also prone to becoming loose and not working. You can easily replace them with the same type of outlet boxes you use at home, which will solve the issue and create a more reliable source of power.
RVers also frequently replace their RV batteries, especially when they’re planning to upgrade from a generator to a solar panel system. Lithium batteries are lighter, longer-lasting, and don’t require anywhere near as much maintenance. They’re also relatively simple to install and set up yourself, though you’ll also need an RV power inverter and a few other components. Click here for the full details about how to make a solar power system work for your RV.
Plumbing the Depths: RV Toilets and Water Systems
When you’ve gotta go, you’ve gotta go. And if you have issues with your RV toilet — or any other part of the plumbing system, for that matter — you’ll quickly find your camping adventure at an uncomfortable stand-still.
Fortunately, many RV plumbing issues are simple enough to troubleshoot yourself. For example, a common cause of RV toilet clogs and backups is simple user error: too much toilet paper or too little water can keep your camper potty from properly flushing. Making sure everyone knows the right way to “go” will go a long way toward avoiding any problems.
Another common error is to leave the black water drain pipe open constantly if you’re hooked up to a sewer connection. But doing so is a bad move: it will allow all the liquid waste to drain first, which can lead to a sludgy clog in your holding tank or sewer drain pipe — the type of clog you do not want to have to deal with on your vacation. (Or ever.)
If you’ve already got a clog, the only thing to do is to snake the line, which is usually best done from the RV’s exterior (through the black tank drainage valve) as opposed to from inside through the commode itself. Depending on the severity of the clog, some campers have also reported success using plain old hot water. However, keep in mind that you may not have the skills (or the equipment) to do this yourself. Commercially-available products like Draino are unlikely to help and can have negative interactions with RV toilet chemicals.
In some cases, the clog will be bad enough that you’ll need to get professional help regardless of your at-home plumbing abilities. The good news is, with the above information in mind, you’re unlikely to cause the problem again!
Other common RV plumbing issues include leaky pipes, which may be over-tightened in the case of PVC/flex piping or corroded in the case of old-model metal fixtures. If you’re comfortable removing and replacing pipe fixtures at home, chances are you’ll be able to do so in your motorhome as well — though keep in mind that your system may require specially-made parts, which are designed to withstand a motorhome’s motion without cracking or breaking. Click here to learn more about your RV’s water system, including your wastewater holding tanks.
If you’re planning on traveling to cold places in the winter, you’ll need to winterize your rig to keep the pipes from freezing. You’ll need a specially-made RV antifreeze to do it safely, and you’ll use your RV water pump to spread it throughout the system. Here’s our guide to winterizing your rig, as well as dealing with some common winter RV problems.
Keep it Cool with These Common HVAC Troubleshooters
Depending on when and where you’re headed, your RV’s air conditioning isn’t just a luxury — it’s a necessity. That’s especially true since a lot of us do our big yearly trips over the summer when temperatures can get downright brutal.
There’s nothing worse than coming home from a long day of exploring, looking forward to a nice, cool couch retreat… only to discover the “cool” part isn’t happening. Fortunately, there are lots of RV HVAC (heating/ventilation/air conditioning) repairs you can do without calling a professional RV AC service.
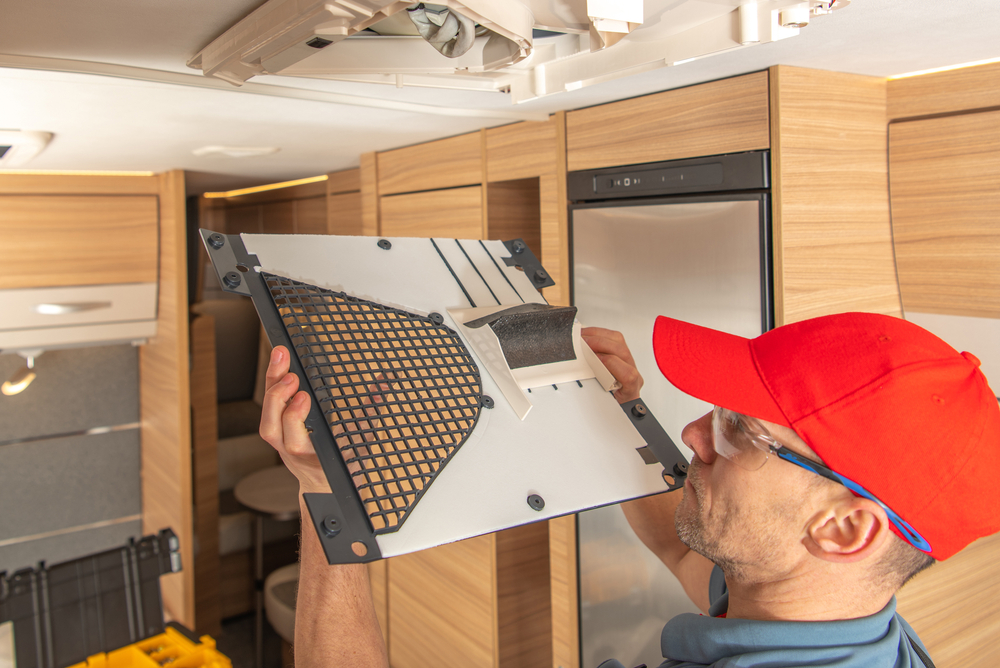
For instance, if your air conditioning unit is running, but you notice the air coming out of the vents isn’t cool, the problem could be as simple as having dirty RV air vent filters. And the solution could be as simple and cheap as replacing them.You should perform this step as a preventative maintenance routine on a regular basis, anyway, so you might as well keep a stock of them on board.
Another common RV AC issue has nothing to do with the AC unit itself — rather, it could be that your thermostat is busted, and not properly communicating with your air conditioning unit!
Replacing an RV AC thermostat is a relatively simple operation that can be performed with common hand tools. Plus, it’s a great opportunity to upgrade from analog to digital if you’re in an older RV model. Here’s an easy-to-follow tutorial on how to replace your RV’s thermostat if that’s your issue.
Finally, even in the worst-case scenario — your RV needs a whole new air conditioning unit — it’s actually not that difficult to DIY your solution. Here’s our recent ultimate guide post on RV HVAC systems, including how to choose and install a new unit.
RV Slide Out Problems
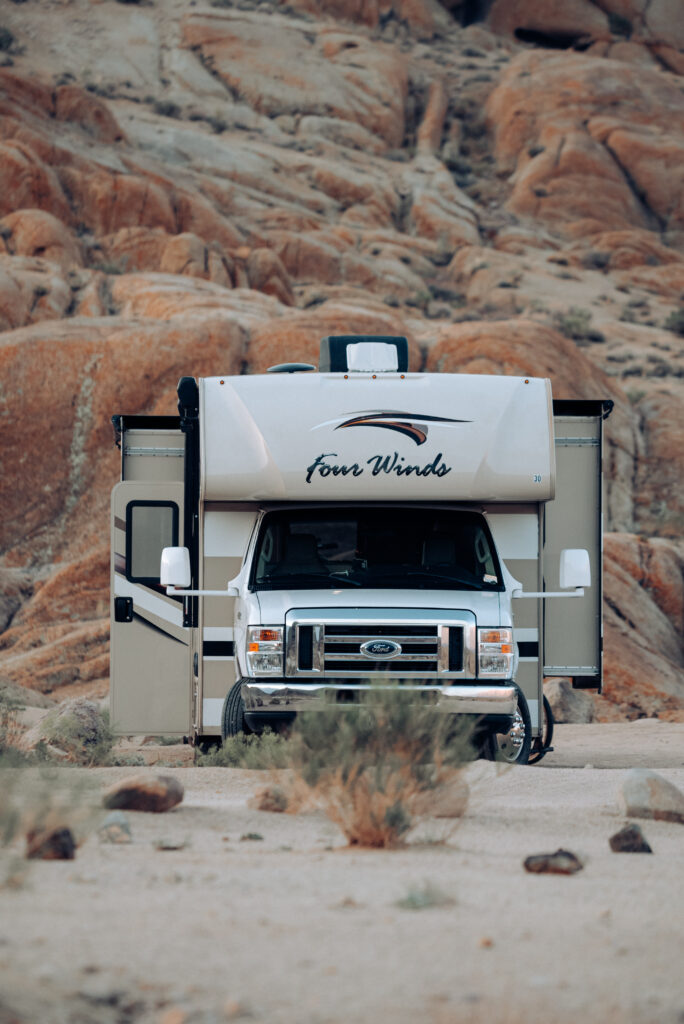
For all the benefits of the extra space RV slide outs can provide, this technology does have some drawbacks. For one thing, all those moving parts are vulnerable to rust, corrosion, and plain-old aging.
On the one hand, it’s kind of unsurprising that a whole moving section of a room would be a prime site for technical issues. The exact thing that makes this technology so amazing is what puts it at risk for problems. But as with so many other parts of RV repair, performing regular maintenance can help keep your slide-outs in working order.
For one thing, take advantage of every opportunity to lubricate your RV slide-out arms. This will ensure the longevity of the moving parts, which will go a long way toward preventing sticking issues. An affordable, commercially-available product like WD-40 will do the trick — and you’ll doubtless find tons of other applications for it elsewhere in your rig.
Another common RV slide-out problem? Leaks. All those seams and seals are just begging to be infiltrated by every RVer’s worst enemy: unwanted water.
Keeping your slide-out seals lubricated and soft will help extend their lifespans. A few squirts of UV-resistant 303 each time you operate your slide-out will do wonders. Of course, all seals eventually harden and crack with age and use, at which point you’ll need to replace them. And as with all other parts of your rig, it’s a really good idea to check and double-check for water damage often. That way, if it does emerge, you can fix it before it spirals.
RV Brake Repair
When you’re driving such a heavy vehicle, stopping is important. (Actually, stopping is important no matter what vehicle you’re driving!)
And it’s a well-known fact that over time, certain brake components break down.
From topping off your brake fluid to actually replacing the brake shoes, drums, or rotors, if you’re comfortable doing mechanical work on other vehicles, you can easily translate those skills to your RV. You’ll need the proper equipment, of course, like a strong jack to lift your travel trailer up.
Easily-Replaceable RV Parts
Although most RVs are outfitted with high-quality components, it’s just a fact of life: things break sometimes.
Fortunately, many motorhome and camper parts are pretty simple to replace, even if you don’t consider yourself particularly handy. Here are a few common areas where a replacement might do just the trick.
RV Lights
Just like the light bulbs in your house, the light bulbs in your RV will burn out periodically. Depending on the specific light fixture, a standard 100-watt bulb might not fit… but that doesn’t make the replacement any less simple. Ensure you have backup bulbs in stock for all the lights in your RV you use most commonly. That way, when you flick the switch and nothing happens, you’ll be able to fix the problem in a jiffy. (Just make sure you have the switch set to “off” before you do so to avoid electric shock and burns!)
If you replace the bulb and find the light still isn’t working, you could be dealing with a deeper electrical problem, like a wiring issue. If you’re comfortable going into your RV’s electrical systems, you can remove the light fixture to see what’s going on. However, if in doubt, don’t hesitate to contact a qualified electrician. Saving a little money isn’t worth risking an electric shock!
RV Windows and Seams
You know that water damage we keep talking about? Another prime access point is your RV windows. Keeping them closed is one thing, but those seals also play a big part in keeping the interior of your rig dry.
RV windows are also prone to other types of damage. For example, an errant stone thrown by a tire while you’re cruising down the highway can crack your RV window glass. The good news is, replacing or resealing RV windows is pretty easy. All it takes is a screwdriver and some good RV sealant.
Here’s a great guide to replacing RV windows by Mark Polk, who writes about his RV journey. Just make sure you purchase the correct windows when you set out to do the replacement. It’s a good idea to take your measurements twice!
RV Awnings and Canopies
Your RV’s awnings may seem like a luxurious extra and an easy way to extend your living space.
But for those of us who camp in hot locales — which is many of us each summer — those awnings serve a functional purpose. Shading the windows can help keep your RV’s interior temperature cooler, which avoids putting undue stress on your HVAC system.
What’s more, the LED lights on modern RV awnings can guide you to your campsite after dark, which can help you avoid safety issues, especially if you’re wild camping or boondocking. In short, your awning actually does a whole lot of heavy lifting. It’s important to take good care of it!
We’ve written before about awning maintenance, including this easy guide to cleaning your RV canopy of dirt and debris. However, replacing your awning is also totally doable — and with some of the fancy, pre-lit, automatically-unrolling models on the market, it’s a great opportunity for an upgrade. Click here to learn more about RV awnings, including how to select a new one for a replacement.
Buying Your Own RV Parts
You have several options for replacing RV parts that break or get worn out. Here are a few places to consider buying RV parts.
Buying camper and RV parts from the dealer
You can certainly contact the RV dealer where you purchased your rig. If they don’t carry the RV parts there, they can recommend somewhere to take your RV to get the proper parts and have them installed. There are some advantages to this – assuming you picked a reputable dealer, their replacement parts should be of good quality. Also, a good dealer should be able to tell you how to install your part if you’re unsure, and they should have a generous return policy. On the other hand, this is most likely not your cheapest option.
If you want to purchase affordable parts & accessories from a dealer, and you’re not pressed for time, watch for sales. Nationwide dealers especially, will have sales on various RV aftermarket parts and other supplies. Sign up for their email newsletter (and actually read it!) for alerts on sales and other possible discounts – often, companies will give you a discount just for signing up for the email in the first place.
Buying parts & supplies from an RV store
Stores like Camping World do sell RVs, but they also sell parts for RVs. You can buy these even if you didn’t buy your rig there. They also have people in-store who should be able to help you, and they have sales on various items – sign up for their newsletter to get emails about good deals.
Buying camper parts from other big stores
Stores like Walmart and Home Depot also carry some parts for RV as well. Do some online research, or call the store to make sure they have what you’re looking for. You likely won’t get people in-store with as much knowledge of camper RV parts, but you may get a better price. Home Depot and Walmart’s return policies are also pretty generous if you discover you have the wrong part.
Buying cheap parts at a salvage yard
You can also look for old RV parts at salvage yards. Motorhomes in salvage yards have likely been in accidents or are broken to the point that they’re undrivable. However, they still have plenty of working parts in them, available to be used by someone else. Find everything from furniture to air conditioners to awnings and a lot more replacement RV parts at a very cheap price. You can also negotiate with the yard manager and possibly bring the price down even further. The disadvantage to purchasing at a salvage yard is that the return policy may not be as generous. Then again, you haven’t spent as much money, either! You can read more tips here on visiting salvage yards for discount RV parts.
Buying RV parts cheap online
There are several categories of online purchasing. One method is to locate your RV parts online but pick them up in person via sites like Craigslist or Facebook Marketplace. If you’re very knowledgeable about the RV accessories and parts you’re purchasing, this might be an inexpensive option for you. Just be aware, there is no way of knowing exactly how credible your seller is, or what happened to your part before you got it. There are also obviously no return policies. If you do go to pick up your part and discover it isn’t in good shape or isn’t what you wanted, don’t be afraid to turn down the sale.
You can also purchase RV accessories and parts from online stores and have them shipped to you. This may be a good way to source hard-to-find RV parts, RV discount parts, and vintage RV parts. Sites like Amazon may offer a generous return policy, especially if you’re an Amazon Prime member. Online stores like eBay also offer return policies, and they have a peer rating system so you can see if other people have had good experiences with that seller. You can also look at RV blogs and websites to see if they have RV dealers or online retailers that they recommend.
Even if you do purchase from a brick-and-mortar store, it’s a good idea to do some research online to see what people say about the RV parts and accessories retailer you’ve chosen. With a little work beforehand, you can be sure you have a good part at a great price!
RV Accessories to Keep Your Rig in Ship Shape
We write a lot about RV accessories and for good reason. In some cases, the right gadgets can help you keep your rig’s sensitive systems safe.
For example, although most RV hookups at developed campgrounds and parks have their electrical and water outputs regulated, you never know when something could go wrong and cause a short in your rig’s wiring or a pressure problem with the plumbing.
#1- A simple water pressure regulator with an attached gauge is a great way to circumvent a potentially costly problem, especially since it costs less than $50 to get one. Considering the complexity of an RV’s plumbing system, it’s a worthy investment to protect yourself from dealing with a messy hassle.
#2- On the electrical side of things, you might consider a power line monitor, which you can use to check the wiring, polarity, and voltage of your shore power hookup before you subject your RV’s wires to a potential surge.
#3- It’s also a good idea to use surge protectors on your RV’s interior to add a further layer of protection between your expensive electronic items and potential lightning strikes and other electrical mishaps.
#4- There are plenty of other RV accessories which can help extend the lifespan of your RV’s systems and appliances. For example, using X-Chock wheel stabilizers in your travel trailer will help keep your leveling jacks from doing double duty, and may even help your tires last longer since they won’t be moving around so much when you’re camped. #5- It might not seem like it, but even kitchen gadgets can be an aid to making your motorhome more long-lasting: adding an Instant Pot to your rig’s kitchen means you’ll be putting less stress on your other cooking devices, like your microwave or oven, for example.
3 Tips for Simple (and Affordable!) RV Repairs
First things first: if you do outsource your labor, what will it cost you?
RV repair costs vary depending on a variety of factors, from the damage that needs fixing to the specific market you’re in. Costs for the same service can range widely depending on where in the country you call home — or where in the country your rig decides to break down.
1. Do your research.
You don’t want to wait until you’re on the hook for repairs to figure out how much to set aside in your travel budget for unexpected surprises. It’s a good idea to check around with local RV maintenance and repair shops for simple services like regular tune-ups, oil changes, or tire rotations.
Keep in mind, though: if something goes really awry with one of your RV’s major systems, you’re likely looking at hundreds, if not thousands, of dollars in repair bills. That’s why it’s so important to keep up with your regular preventative maintenance schedule… and also to set aside an emergency fund before you head out on your travels. Yes, it can be difficult to wait until your finances are in order to take the trip of a lifetime, but you’ll thank yourself when you don’t have the added worry of how to pay for repairs if you have a roadside uh-ho. (Psst: Here are some great ways to save money on the road.)
2. Shop around for a mechanic.
It’s always a good idea to read up on a mechanic’s reviews and reputation before you call them up. Whether you’re looking for motorhome or travel trailer repairs, or just general RV service and parts, you’re bound to find a whole lot of mechanics vying for your business. As RVing has increased in popularity, more and more handymen (and women!) have picked up RVs as one of their specializations.
But how can you discern the honest mechanics from the ones who may be overcharging you?
Whether you’re in your own town or you run into trouble at your destination, the best way to get a feel for which RV repair shops and service centers are reputable is to… well, learn about their reputation. Luckily, again, the internet makes it much easier to do this than it used to be!
There are websites devoted to publishing user reviews of businesses, specifically for the purpose of helping you suss out the good from the bad. These websites — one of the most popular of which is Yelp — are a great way to get a sense of RV mechanics in your area since the business doesn’t have access to amend or remove any of the reviews.
Of course, companies can also host user reviews on platforms like their Facebook pages, but those reviews are usually subject to their own editorial decisions. In other words, if someone posts something the company doesn’t like, they can just take it down.
Just remember to always take any reviews, good or bad, with a grain of salt. After all, people usually aren’t moved to write a review unless they received exceptional service… whether it was exceptionally good or bad.
3. Do it yourself RV maintenance
Of course, a great way to deal with the high cost of RV repairs… is simply to not pay for them. By learning to do some DIY RV maintenance and repair, you can go a long way toward offsetting that cost.
If you’re not sure how to do simple RV repairs, let alone make massive structural changes, don’t worry. There’s lots of information out there to help you.
You can find books and manuals to help you with everything from how to repair your RV’s fiberglass siding to fixing up your outdoor awning. Here are some of our best recommendations from Amazon:
- RV Repair and Maintenance Manual by Bob Livingston
- The RV Handbook: Essential How-To Guide for the RV Owner by Dave Solberg
- RV Electrical Systems: A Basic Guide to Troubleshooting, Repairing and Improvement by Bill Moeller
- Camper Rehab: A Guide to Buying, Repairing, and Upgrading Your Travel Trailer by Chris Peterson
- Average Joe’s RV Refrigerator: Troubleshooting & Repair Guide by Roger D. and Onna Lee Ford
As you can see, there’s a guide out there for every RV repair and maintenance item you can think of. Doing the work yourself guarantees you get quality RV repair — what mechanic could you possibly trust as much as you trust your own judgment? It also makes your rig feel more like your baby, a personal project you’ve invested your own time, energy, and work into.
Emergency RV Repair
The unexpected happens on every road trip — it’s part of travel (and honestly part of the reason we love it so much. It’s all an adventure, after all!).
Another great idea, especially if you’re in need of emergency RV repair on the road, is to ask around at the campground or any local RVing message boards online. People who live in an area have to form long-standing relationships with their mechanics, as opposed to one-off jobs that may or may not be of high quality.
The Importance of Regular RV Maintenance
Even if you don’t want to get super technical with your rig, you can offset regular costs and prevent many larger repair issues by performing simple tasks yourself, such as checking and changing your RV’s oil and other fluids as well as regularly scanning your rig for any signs of leaks and water damage.
Keeping your rig clean and well-taken care of goes a long way towards ensuring all its systems work as well as possible — for as long as possible, too. Here’s how to rid your RV’s canopy of dirt and debris, and here’s our guide to giving your holding tank sensors a good scrub. By keeping up with your regularly scheduled maintenance and learning how to do even just a few simple repairs and maintenance items on your own, you won’t have to worry about refinancing your rig just to afford upkeep.
RV Repair Doesn’t Have to Be Scary
We hope this post helps you rest easy, knowing that RV maintenance and repair don’t have to be a nightmare. In fact, with a little bit of foresight, planning — and maybe a little sweat — you can often avoid frustrating RV repair issues in the first place.
If you’re not sure how to tackle the common troubleshooting issues we’ve outlined above, don’t be afraid to turn to the camping community for help! From RV forums to YouTube tutorials to the comments and community right here at RVshare, most campers are happy to lend a helping hand to others learning the ins and outs of these unique vehicles.
This post contains affiliate links. RVshare may receive compensation if you make a purchase after clicking on a product link.

