Fall is well under way, and there’s simply no denying it: winter is coming.
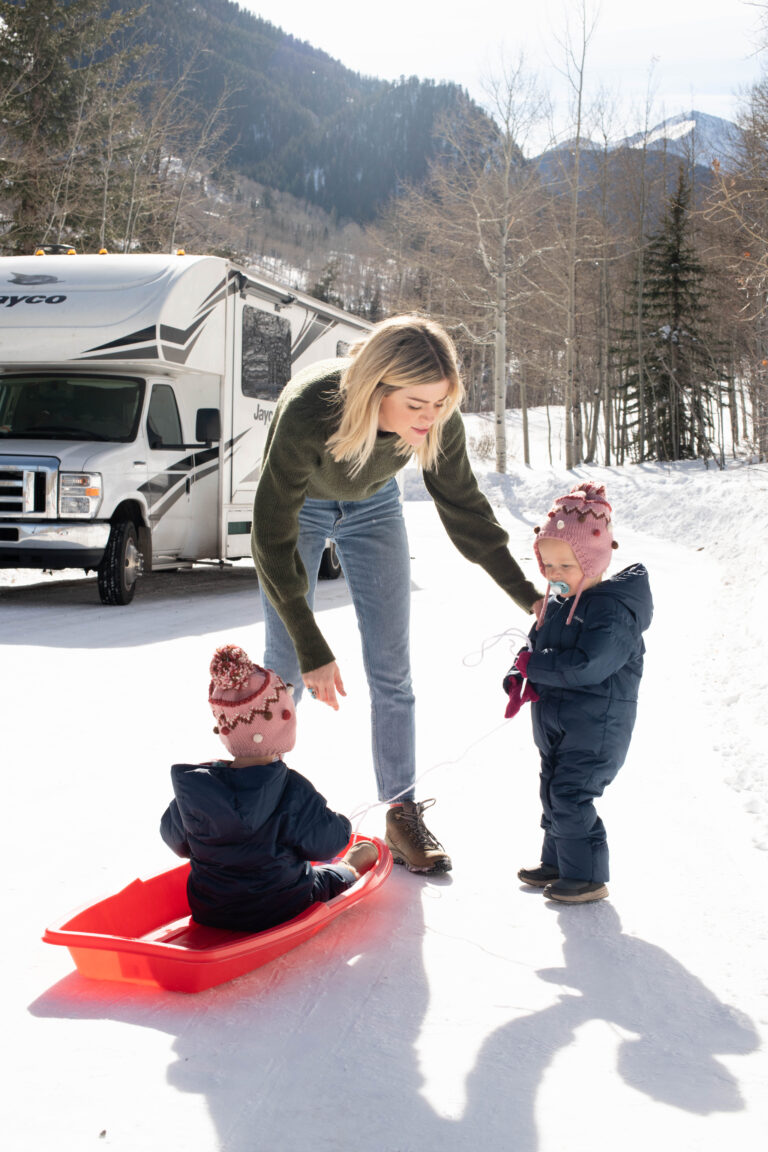
But that doesn’t mean you have to put your trusty rig into storage until springtime! Not only is it possible to RV in winter — it’s actually an amazing opportunity to partake in a whole lot of fun activities you simply can’t any other time of year. For instance, you might use your motorhome or travel trailer as a mobile ski chalet, or take a peek at one of your favorite national parks under a dusting of fresh-fallen snow. Maybe you’ll snowshoe through forested trails or try your hand — er, foot? — at cross-country skiing. No matter what fun activity you choose, you know your very own private home on wheels will be waiting for you when you’re done with the day’s adventures.
Of course, serious temperatures require serious precautions, just like they do at home. You take the steps you need to in order to ensure your pipes don’t freeze and your house maintains a livable temperature, and an RV requires similar measures in order to be comfortable and safe during Jack Frost’s reign.
If you’ve never done it before, it may seem like it’s an intimidating process to winterize your camper. But thanks to the high-tech tools and systems to which we have access today, it’s actually not anywhere near as hard as you might imagine!
So get ready to experience winter wonderland in ways you never have before. In this post, we’re going to go over everything you need to know to winterize your RV and get it safe and secure for cold-weather travel.
Your RV Winterizing Checklist: What You Need to Do
Winterizing your rig is all about making sure those cold temperatures won’t cause damage to your sensitive (and expensive!) systems. That way, you’ll be able to keep camping all winter long… or rest assured knowing your rig will be ready and waiting if you’re planning on sticking it into storage until spring.
RV Antifreeze and Your Rig’s Plumbing System
Perhaps the most important part of winterizing a motorhome or travel trailer, whether you plan to travel in it or not, is to purge the RV’s plumbing system and add RV antifreeze in. That’s because, just like at home, your RV’s pipes can freeze — and any water left inside will expand and potentially damage or crack your delicate connections. All those pipes and lines are buried deep inside the guts of your rig, which means repairing those issues can be time-consuming and outrageously expensive. So it’s absolutely critical that you take the time to winterize your RV’s water system!
Fortunately, it’s not that difficult to do this important task on your own — though you can always turn to professional help if that makes you more comfortable. Here’s how to clear your RV’s plumbing system of water and then add camper antifreeze to make those pipes crack-proof.
The best method for clearing out your plumbing system is to blow out the lines with compressed air. As opposed to simply dumping your tanks as usual, this method will go a lot further toward ensuring you’ve actually got every single drop of water out of the system.
To start, you’ll need to disconnect your RV from the external water source if it’s connected, then turn off all the power including the propane.
Next, you’ll bypass your RV’s water heater. You won’t be emptying that right now. Many RVs roll off the manufacturer’s lot with a bypass valve installed, but if not, you can find an RV bypass valve available very affordably both in your local camping store and through online resources. For instance, this RV water pump converter kit comes complete with a brass valve, siphon hose, Teflon tape, and pump adapters, and it’s just a little over $10 on Amazon.
Remember: Open ALL Your RV Faucets!
Next up, you’ll open up all your RV’s faucets and taps. Don’t forget about the shower or tub — and even the outside shower, if you have one! Give the camper toilet a flush, too, to clear that water from the line. Then, open the system drain valves and let the system empty entirely. (Be sure to consult your owner’s manual for tips on winterizing your refrigerator, ice maker, washing machine, and dishwasher.)
Now, you’ll connect the blowout plug to your RV’s city water inlet — not, we repeat, NOT the fresh water holding tank. Don’t already have a blowout plug? It’s a super simple little piece of equipment that connects an air compressor to your plumbing system, and just like the bypass kit, you can get it for about $10 on Amazon.
Finally, you’ll connect the air compressor hose to your system via the blowout plug connection, and run the compressor until all the water is blown out of your rig and the faucets and drain valves all run dry.
Be sure your wastewater and freshwater holding tanks are drained completely — and use the opportunity to give the sensors a good scrub while you’re at it. Then, pour a quart of RV antifreeze each into your black- and gray-water holding tanks by introducing the fluid into each of your sinks and pouring it into your toilet and shower. (That way, it lines and protects the pipe traps as well.)
If you’re putting your RV into storage, now’s the time to open the water heater drain plug and let it empty. For the best protection against accidental freezes, simply leave the drain plug open until you wake your rig from its long winter’s nap come spring. Of course, if you’re planning to use your rig, you’ll want access to hot water — especially with frigid temperatures outside!

Winterizing Your RV Holding Tanks
By adding camper antifreeze to your black water tank and gray water tank, you’ll protect these delicate systems from being damaged during the winter freeze. RV antifreeze will also protect other portions of your RV waterline in order to prevent cracked, leaking pipes that can cause serious and costly problems.
That being said, it’s important to recognize that all RV antifreeze is created equally. Let’s take a closer look at the different types of RV winterizing fluids available on the market.
First of all, RV antifreeze is a different product from the antifreeze you use in your regular vehicle. It’s non-toxic and safe for the sensitive plumbing systems in motorhomes and travel trailers. (That said, you still don’t want to introduce it into your fresh water supply or run it through your inline water filter.) You’ll be able to tell it’s the right stuff because it’s always pink in color.
That said, there are a few different formulas available on the market, and certain ingredients are of higher quality than others. The cheapest — and most readily available — are ethanol-based antifreeze, and they can often be purchased for as little as $3-$5 per gallon. However, although ethanol will keep your pipes from freezing, it’s extremely flammable, and also drying in the long run — which can wreak havoc on your seals and connections. It may be worthwhile to upgrade to a higher-quality product.
The higher level of camper antifreeze available is made with propylene glycol, which actually works as a lubricant and can help protect your RV’s plumbing system long after the winter season has ended. It’ll cost you a little bit more up front, but it’s definitely cheaper than repairing your entire plumbing system down the line!
Other RV Parts and Accessories to Consider
Winterizing your RV’s plumbing system is a critical first step for getting your rig ready for colder weather. But there are plenty of other items to check off your list, as well — especially if you’re putting your rig in storage.
Tires
Tires are made for movement, and they don’t like to be squashed under thousands of pounds of unmoving weight for months at a time. That means that if you leave your rig in storage all winter without extending the leveling jacks, you’re likely to come back in the spring to some flat spots — or, in a worst-case scenario, tire rot.
Be sure to park your rig on a concrete pad or otherwise paved surface in order to avoid the vehicle sinking into the soft ground during the spring thaw. If you don’t have access to jacks in order to counteract the weight of your rig on your tires, be sure to move it about a half-tire revolution’s worth a couple of times over the course of the winter.
Jacks
Whether you’re using your jacks to level your RV in storage or simply to make it easier to walk around inside, don’t forget that those feet can get frozen to the ground in the winter! Use wooden blocks to separate them from the gravel or concrete below.
Engine and Automotive Fluids
Just like your day-to-day vehicle, your RV’s engine and other operational fluids will need to be winterized, as well. If your rig’s a motorhome, be sure to top off the tanks so as to avoid problems with condensation, even if you’re planning on leaving it in storage. You’ll also want to add a fuel stabilizer, which will help protect your tank against the effect of the cold.
Don’t forget about your oil, brake fluid, and windshield wiper cleanser! All of these should be topped off, and you’ll want to make sure your wiper fluid is freeze-proof.
Batteries
Before sticking your rig in storage, you’ll want to be sure to top off battery fluid and also to ensure they’re fully charged. If your RV isn’t going to be in a temperature-controlled storage unit, the best course of action is to remove the batteries entirely and store them somewhere warm, as extreme temperatures can decrease battery lifespans. Although lithium batteries are more resilient, they are still vulnerable to very cold temperatures and should be stored indoors if possible.
Interior Preparations
Finally, don’t forget about your RV’s interior when you’re getting ready to put it away for a long time. The last thing you want to do is get excited for your big spring or summer camping trip… only to discover your RV is a roach- or rodent-infested mess!
You’ll definitely want to rid your rig of any food or beverages that may be left in the refrigerator or cabinets. But this is also a great time to do an overall cleaning, so you know you’ll have a nice, fresh RV waiting for your adventures once the sun returns.
So deep-clean the kitchen, paying special attention to the oven and stove. Defrost the refrigerator and freezer and leave the doors propped open with a fresh box of baking soda inside. Strip the bed sheets, and even take out toiletries like shampoo and conditioner — you’d be surprised what can attract hungry insects. Finally, if you’re storing your RV at a public storage site away from your home, it’s a good idea to remove any electronics or valuables, like televisions or video game systems.
Preparing for Winter Travels
You may be all set if you’re packing your rig up for winter storage. But what about you brave souls who plan to take on exciting holiday and cold-climate camping trips?
Heating an RV in sub-freezing temperatures can be a bit of a challenge — but if you take the right steps ahead of time, it’s totally doable. Here are a few tips, tricks, and accessories that can help make the task a little easier!
Heat Your Hoses
Even after you’ve winterized your RV’s plumbing system, you can run into problems with your freshwater and sewer connections while you’re set up at camp. Fluids can freeze inside those hoses and make filling — or worse, emptying — your tanks into an out-and-out nightmare.
That’s why many campers wrap their sewer lines and water hoses with added insulation, or even purchase heated water hoses for their RVs. That way, you can rest assured that things will keep flowing, even on the coldest days of the year.

Learn the Difference Between Your Heater and Your Furnace
If you’re going to be cuddled up in your trailer during some seriously cold weather, you’ll definitely want to turn on the heat. Even the best-insulated RV is no match for a standard sticks-and-bricks home as far as temperature control — and even the average American home requires heating in order to be warm and cozy!
Your RV is likely equipped with two different sources of heating: an electric-run RV heater that’s part of your HVAC system, and an RV propane heater or furnace. Knowing the difference between these two systems, and when each is most effective, can help you keep both of them running better and longer for many years to come.
An RV’s heat pump is usually built into the rooftop air conditioner, and it can help keep the interior toasty down to temperatures of about 45 degrees Fahrenheit. It can be operated off a standard electrical connection, or with your propane generator.
The furnace, on the other hand, usually burns propane directly. It’s a powerful tool for seriously low temperatures, but it can eat through your supply of fuel pretty quickly and be very costly to run for long periods of time. If you’re camping in winter weather, and especially if you’re boondocking, always be sure to fill your propane tank ahead of time! You don’t want to wake up to find yourself freezing thanks to a drained tank.
Get Creative with Insulation
It should go without saying that, in order to camp in cold-weather climes, you’ll need to be driving an RV that was manufactured with those temperatures in mind. These rigs are often described as “four season” or “all weather” campers, and may include significantly more insulation in their walls than their flimsier, summer-camping counterparts.
That said, even the best-made rig in the world isn’t an icon of insulation. So you’ll probably need to bring in some extra help to make sure everything stays nice and cozy. (And we’re talking as much about your RV’s sensitive undercarriage systems as we are about you and your family!)
One solution is to run a small space heater under your coach, in order to keep the plumbing system and pipes running smoothly. You can also purchase a commercial RV insulation skirt, which will cover the under-coach storage area and wheel well while you’re camped.
But you can also get creative and DIY your RV insulation by creating a skirt out of snow! It may seem counterintuitive, since it’s such a cold substance, but snow is actually an incredible thermal block and will help keep things warm and working, especially in tandem with other winterizing measures.
Close Your Windows… and Don’t Forget to Look Up, Either
It may seem self-explanatory, but it’s imperative that you keep your RV sealed up tight to keep in the heat and keep out the cold, and that means cranking those windows firmly closed. However, even if you’re thinking, duh… we definitely already knew that! — there’s another potential break in the seal that is easily forgotten.
We’re talking about your ceiling vents and fans! While these guys serve an important function during hot, humid summers, they can let in chilly winter air during cold-weather camping trips. So make sure you look up while you’re walking around your RV closing all the windows. That way, you won’t wonder what that draft later, is while you’re standing in front of your RV stove… or worse, sitting on your camper toilet!
Bring in Extra Heaters — and Lots of Cozy Blankets!
Even if you don’t mind burning the fuel necessary to keep your furnace going day in and day out, in a thin-walled RV, you may need additional sources of heat to keep things as toasty as you’d like. (And chances are you’d rather not spend your entire travel budget on filling and refilling your propane tank.)
Small electric space heaters can be a great way to introduce some auxiliary sources of heat into your RV’s interior, and can also, as mentioned above, be used under the coach to help add a level of protection to your RV’s sensitive systems.
There are many different levels and types of space heaters available, from small personal ceramic heaters to large, electric-powered fan heaters that are powerful enough to heat whole rooms. Of course, you’ll have to mix, match, and experiment to find your own perfectly-customized cocktail of heating elements, but you almost certainly won’t regret purchasing at least a small space heater to start!
And, of course, you don’t want to underestimate the power of a cozy blanket (or four). Going in for highly-insulated comforters can keep your toes nice and toasty in bed, and having a few extra throws can make your camper couch into a thaw-out haven. Plus, let’s face it: every interior looks more inviting with some extra coziness strewn around the place. Your RV is no exception.
Some campers even purchase mattress heating pads to help amp up the warmth factor, though if you’re a warm sleeper already, your mileage may vary. We also recommend bringing along a nice supply of sweaters and jackets… and, of course, taking advantage of what’s widely regarded as cuddle season.
Tire Chains, Winter Driving, and Trailer Preparations
Finally, let’s not forget about the actual driving part of your winter camping trip. While navigating your rig through foul weather can have a little bit of a learning curve, it can be quite safe — so long as you make the right preparations.
Tire chains can help make your vehicle’s feet grippier in snowy and icy conditions, and in some states, they’re actually legally required. Be sure you do your research ahead of time and pick up a set if need be. (And even if it doesn’t seem as if it’s a legal requirement, it could be a good idea anyway. Over-preparation never hurt anybody!)
Travel trailers already have a unique set of driving considerations to keep in mind, including important gadgets like brake controllers and weight-distributing hitches. Keep in mind that slippery roads can be even more treacherous when you’ve literally got a weight dragging behind your main vehicle — which can just as easily push and pull you as you push and pull it. Click here for some of our best safety tips on driving travel trailers, and here to learn more about different hitches and trailer connections.
Finally, in all winter driving scenarios, just remember to take it slow, brake early and easy, and — most importantly — don’t be afraid to pull off and stop if conditions get worse or you’re otherwise uncomfortable. Even if it puts a damper in your plans, your vacation will be way more enjoyable if you stay alive. Trust us on that one.
RV Service: What to Look For
Even when you take all the proper precautions and steps to winterize your RV, you may find you need some professional help in the way of RV maintenance or repair. Cold temperatures, prolonged storage, and winter road hazards can wreak havoc on our rigs, no matter how carefully we planned for them!
Finding a trustworthy RV repair service can be intimidating, especially since we all know that most commercial repairs don’t come cheaply. Nobody wants to bring their precious motorhome or travel trailer to a shop only to be swindled into paying hundreds, or even thousands, of dollars in repairs they might not even have needed — or otherwise could have easily done themselves with just a little bit of know-how.
Fortunately, today’s internet age does make certain things easier, and that includes finding a trustworthy RV professional. In the camping community, reputation is everything, so be sure to ask around to find a mechanic that other RVers trust — and if you don’t have the opportunity to do so, rely on user reviews on websites like Yelp and Google. (Psst: want even more tips for finding great help when you need it? Check out our guide to finding and hiring a trustworthy RV repair service here.)
Establishing and keeping up with a regular maintenance schedule is one of the most important parts of keeping your rig working well for as long as possible — which means a future filled with fun and exciting camping trips for many years to come. While certain maintenance items, like oil changes and tire rotations, are fairly standard, every make and model of RV has its own particular needs and quirks, so always be sure to check your owners’ manual before you dive into the process of winterizing your rig, or performing any other regular maintenance tasks.
We hope this guide has shown you that winterizing your RV doesn’t have to feel like an overwhelming task. After the first season or two, the steps will become second nature — and then you’ll rest assured all winter long knowing your rig will be ready and waiting to take you on your next adventure come springtime.
This post may contain affiliate links.
