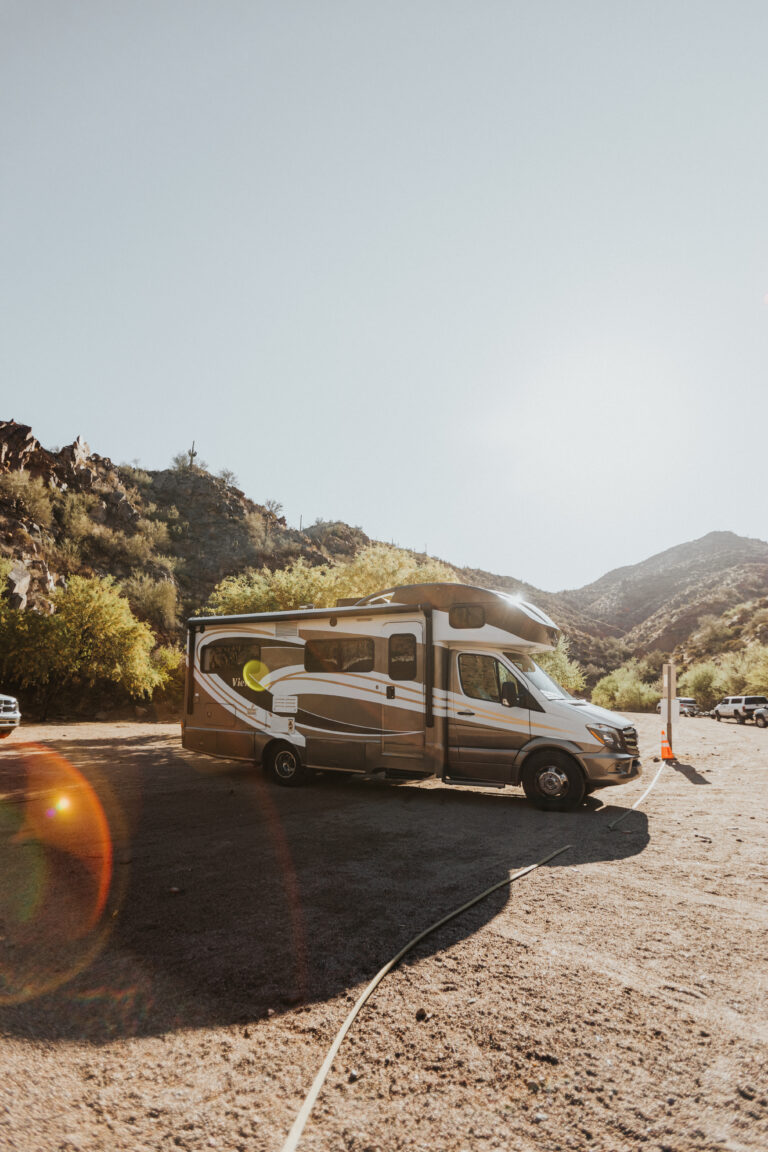
You’ve got the interior of your RV right where you want it, having added all the best upgrades and modifications. From the latest RV GPS to an upgraded RV sofa sleeper to custom-built kitchen cabinets, you spared neither time nor expense when it came to making your rig your very own.
So why should things be any different when it comes to your RV’s exterior?
Whether you drive a camper trailer or a Class C motorhome, almost every rig can benefit from a few essential exterior RV upgrades. In fact, some of the best and most amazing RV modifications we’ve seen have nothing to do with upholstery or cabinets, or even the high-tech gadgets we use to make our navigation and camping experiences more efficient.
RV Exterior Improvements Guide
Without further ado, here are some of the best exterior RV upgrade ideas we’ve come across.
External LED Lighting
Want to make your RV’s exterior literally shine?
Although many rigs come equipped with exterior and awning lights, if you drive an older model, they may not be long-lasting, high-efficiency LEDs. It’s a small up-front investment that will easily pay for itself over time since LEDs have an expected lifespan of 50,000 hours on average! Because RV LEDs use less power and have a long life, they can make up for the high price in the long run.
Plus, bright exterior lights aren’t just pretty to look at. They can also help with safety, both when you’re coming back to a dark campsite after a long day of adventuring and while you’re fast asleep inside. For one thing, you won’t trip over your outdoor camping chairs, and a well-lit rig with LED porch lights isn’t one that burglars are likely to target!
External Solar, Rechargeable, and Battery-Powered Lights
You might want RV outside lights you can string from the awning to another spot, creating the perfect zone to pull up a chair and relax. Or maybe you want a lantern that you can bring with you from your campsite to other places after dark. Some of the most popular types of solar and battery-powered RV lights include:
Once you determine which type or types of RV outdoor lights you’d like to purchase, you’ll want to decide how to power them. It’s likely that you’ll be able to find one style powered in a variety of ways. The most common include solar-powered, battery-powered, or rechargeable. There are different lengths of time that each device stays charged.
When deciding how to power your RV outside lights, think about your typical lifestyle when RVing. Do you think you’ll remember to recharge your lights or set them in the sun? If not, you may want battery-powered RV outdoor lights. It also can be helpful to have a mix of solar or rechargeable lights and other battery-powered lights, so you’re never without an option!
You’ll also want to think about storage. While many outdoor RV lights collapse or are small to begin with, you will still need to store them in your RV when not in use. It can be helpful to opt for lights that are easy to store in your rig, especially if you’re planning to purchase several.
Fixing RV Trim and Moldings
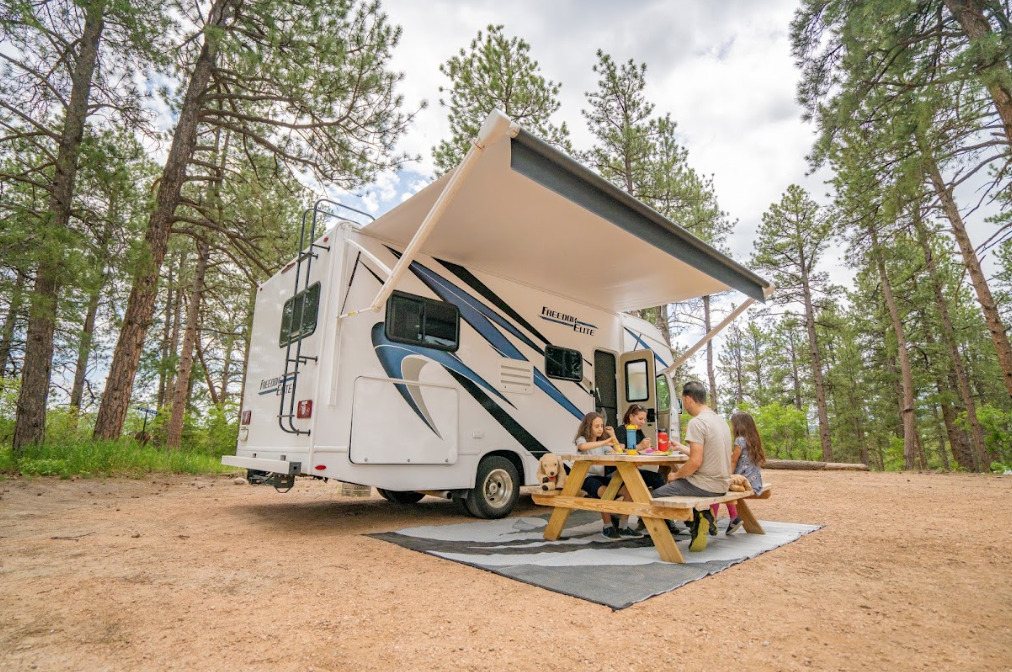
Water leaks are one of the leading causes of RV damage and can easily turn your rig from a vacation getaway-mobile to a soggy, expensive-to-fix mess. Get ahead of the problem by repairing any old, cracked-looking exterior RV moldings and trim, especially around your camper door and other moving parts and seams.
Looking for a quick fix until you can take the time to do a proper upgrade? Dicor sells this excellent Seal Tape, which will keep water out in a pinch. But don’t delay in making proper improvements. Trust me, redoing your moldings is a lot easier (and cheaper) than dealing with internal water damage after the fact!
Repairing or Replacing RV Awning
Does your awning have holes from tree branches, rips from the wind, or fading from the sun? If you’re nodding yes to any of these, your awning needs an improvement! First, start by assessing the damage. Look at the underside of the awning, as well as the top of the material. Typically, if the rip or hole is less than 2-3 feet, you can easily repair it. If the damage is significant, consider replacing your awning with a brand-new one.
For repairs, you’ll want to be sure you give your awning a good wash before getting to work. You can use a spray bottle with water and dish soap or bleach. Spray the awning, let it sit, then rinse with water and wait for it to dry. Once dry, you can go ahead and use some repair tape or a patch kit to fix any rips or holes.
If you’ve decided you need a replacement rather than a repair, check out our guide to replacing an awning for a detailed, step-by-step explanation.
RV, Motorhome & Travel Trailer Detailing
You may be surprised by how much better your RV looks after a serious clean!
The first thing you must do before beginning any project is to gather the correct tools. Below are the products we like best when it comes to trailer and motorhome detailing:
- Camco Pro-Tec RV Rubber Roof Care System — The best RV roof care system out there. This kit comes with both the cleaner and the protectant.
- Gel-Gloss RV Wash and Wax — Looking to get that new RV shine? This product will get you there.
- Camco Pro Strength Awning Cleaner — Awnings can get pretty nasty. Wash away the grime with this fabulous product.
- Windex and Windex Outdoor — Of course, you’ll want to clean your windows as well. Windex is the best window cleaner on the market.
- Camco RV Flow-Through Wash Brush with Adjustable Handle and Integrated Squeegee — Perfect for helping you access hard-to-reach places and leave a streak-free shine.
- Car Guys Wheel and Tire Cleaner — Shiny tires are a lovely finishing touch. Get that touch with this cleaner.
- Werner MT-22 Telescoping Ladder — You’ll need some way to get to the taller parts of your rig. This telescoping ladder is perfect because it allows you to reach high places while still folding small enough to be stored in an RV.
- Microfiber Detailing Cloths — Cloths like these are a necessity when it comes to cleaning anything. Don’t forget yours!
- Collapsible Bucket — This collapsible bucket is ideal for holding cleaning solutions and folds down for easy storage when you’re done.
- 50-foot Flexible Garden Hose — Another great product that is small enough to be stored in an RV while still offering plenty of functionality, we highly recommend this expandable garden hose and spray attachment.
Cleaning Your RV Roof
You always want to begin with the roof. Why? Because cleaning the roof can leave some pretty awful dark streaks on the sides of your RV. If you save the roof for the end, all of your hard work will literally go down the drain.
Begin by checking the seals on your roof in order to ensure you won’t be spraying water directly into your home on wheels. Patch up any leaks and then begin the cleaning process using your roof cleaning solution (make sure to read the directions before you begin), a garden hose, and a scrub brush. Be very careful, as rubber roofs do tend to become slippery when wet, and finish the job with the protectant in order to help your roof last for years to come.
RV Awning Cleaning
Next up is the awning. As mentioned before, these can get pretty grimy, so be prepared to do a bit of work. Luckily, the Camco awning cleaner we recommended above is pretty good at removing tough mildew and dirt, and this—along with your scrub brush— will help you get the RV canopy cleaning job done as easily as possible.
To wash your RV awning cover, simply extend the awning fully, rinse it with the garden hose, apply the cleaner, scrub away grime, and rinse again. You may need to repeat a few times, and you might find a bit of scrubbing is necessary in spots.
Moving On to the RV Siding and RV Door
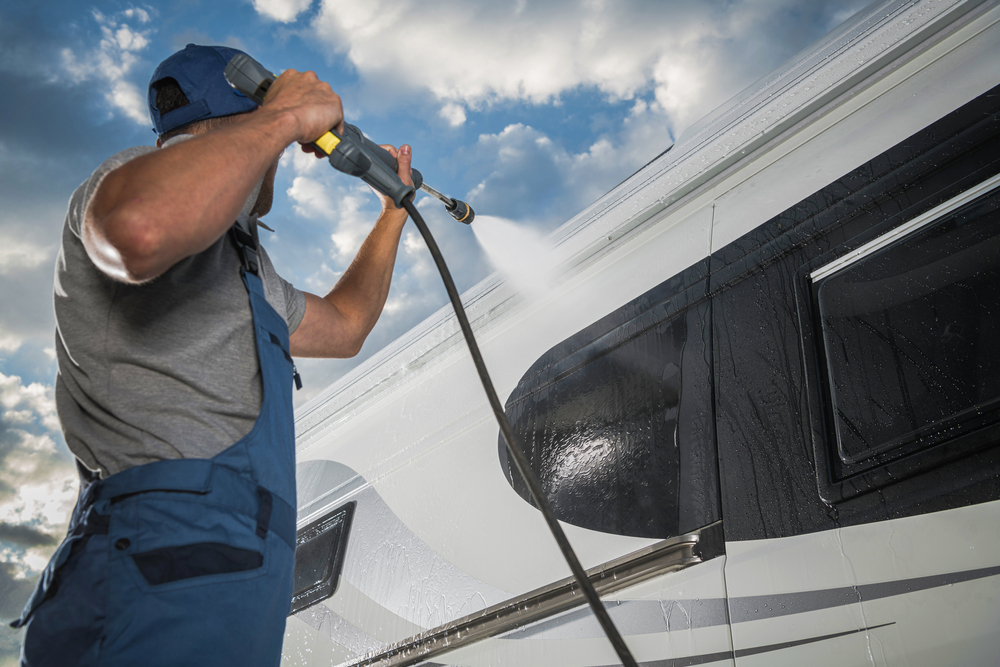
With the roof and awning cleaned up, you’ll need to move on to the siding and door. Cleaning these is very straightforward, and will likely remind you of cleaning a car. This is where your collapsible bucket comes in handy, and this is also the task that requires the RV wash and wax on our list above.
Start by checking all seals around windows and doors. Once everything seems watertight, wash all sides and the door well, making sure to scrub away any tough dirt or stains. With all dirt scrubbed away, rinse everything well. You might need to go back over all the little nooks and crannies with a microfiber cloth after rinsing, as dirt has a tendency to get stuck in the small cracks around windows and doors.
During this particular task, you may notice peeling decals on the sides of your rig. This is especially common with older RVs and RVs that spend large amounts of time in the sun.
Washing Your RV Windows
Window washing is next on the to-do list. Washing RV windows is no different than washing the windows on a house. We recommend washing the insides of your windows first. After the interior window cleaning is done, move to the exterior of the windows.
We like using Windex Outdoor to make the job easier, as it simply sprays onto those high-up, hard-to-reach windows, and rinses right off with water. Amazingly, it doesn’t leave streaks behind!
Making RV Tires Look New
Finally, you will want to give your RV tires a bit of attention. Spray them off with the garden hose first to remove any caked-on dirt. Finish by using the tire cleaner and microfiber cloths to thoroughly wipe down both the wheels and tires.
Professional RV Detailing Near Me
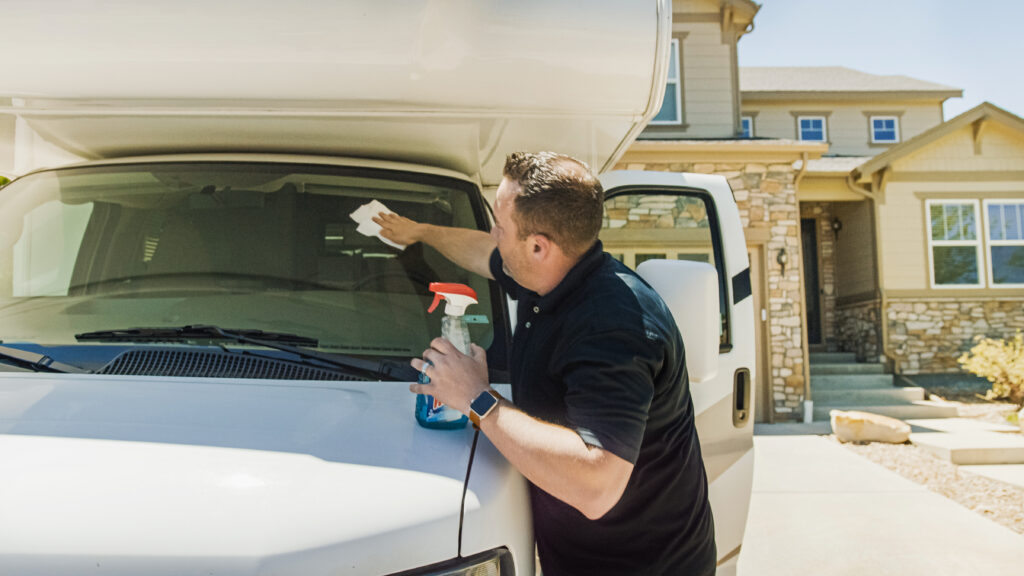
If all of this sounds like a lot, you might be better off looking into mobile RV detailing. A professional detailer can do the job quickly and leave your RV looking fabulous.
Simply searching the internet for “RV detailers near me” or “mobile RV wash near me” should turn up a few results, meaning all you have to do is make a quick phone call and leave the rest to the pros.
RV Exterior Modifications and Upgrades
Here are some more clever RV modifications and upgrades for you to consider.
Always-Connected Sewer Hose Modification
Hate having to disconnect and reconnect your sewer hose every single time you need to dump your tanks? We love this upgrade idea from Love Your RV, which connects the sewer hose permanently with your waste tank and makes for easy dumping every single time — no more need for that once-a-week decoupling nightmare!
This is an especially good upgrade for squeamish RVers who don’t want to get stranded up… well, you know where without a paddle.
Installing Fiberglass Siding
If you’re not a big fan of washing your RV’s exterior often, installing fiberglass siding is one of the best RV upgrades you can make. That’s because slick, smooth, pristine-white fiberglass doesn’t hold onto dirt as well as the matte aluminum your RV might feature.
A ten-foot roll of fiberglass siding will cost you a little more than $300, and can be found in either bright white or black if you want to give your rig’s exterior an edgy twist! Although this is one of the pricier RV aftermarket upgrades, you won’t have to do it more than once, and it’ll really lower your maintenance time in the long run. When compared to the cost of professionally painting an RV exterior… well, you might even say it’s a bargain!
Installing Solar Panels
If you’re looking for an eco-friendly way to power up your rig, consider installing solar panels! They are particularly popular with those who enjoy off-the-grid adventures. A solar panel system can charge your RV’s battery and provide power anywhere sunlight is present — even in winter months and on cloudy days.
RV solar panels can help extend your battery life by cutting down on generator use, and even save money in the long run on propane. The number of solar panels your rig needs will depend on its size and your power needs. For example, a small travel trailer with minimal appliances will not need as many panels as a motorhome with all the bells and whistles. For installation and solar panel recommendations, you can check out our full guide here.
RV Performance Upgrades
Some of the most essential RV upgrades aren’t necessarily the flashiest. These modifications will increase your rig’s performance in the long run — which is a worthy investment, we think!
RV Suspension Upgrades
Your RV’s suspension system is important — especially if you drive a hefty Class A diesel pusher (or, on the other end of the spectrum, if you’re trying to keep your weight ratio right in a compact travel trailer).
Depending on the exact design of your RV, there are a lot of RV suspension upgrade devices ready-made for relatively easy installation. Check out the MORryde Suspension System, the Lippert Equa-Flex Suspension Upgrade Kit for Tandem Axle 6K – 8K, and the MORryde Heavy Duty Shackle Upgrade Kit for Tandem Axles. Always consult your RV’s user guide or owner’s manual before tackling any major structural component replacements or upgrades, and if in doubt, check with a professional to ensure you’ve got the right modification device for your rig!
The Best RV Ladders
When sprucing up your exterior, you’re going to want a sturdy ladder to help with your work! Here are a few excellent choices, plus what to look into when purchasing an RV ladder.
You may even find you need a few RV ladders to perform various functions around your motorhome. Depending on the size of your rig and whether any ladders or steps are already built in to the motorhome, you might want to consider one – or several – of the following ladders to bring with you on road trips.
Also, a word of caution and safety – if you’re traveling with young children, make sure you never leave ladders open or accessible where curious kids could climb them without supervision. To keep yourself safe, make sure you only use your ladder according to manufacturer guidelines and have someone nearby to spot you if you’re climbing a tall ladder.
Types of RV Ladders
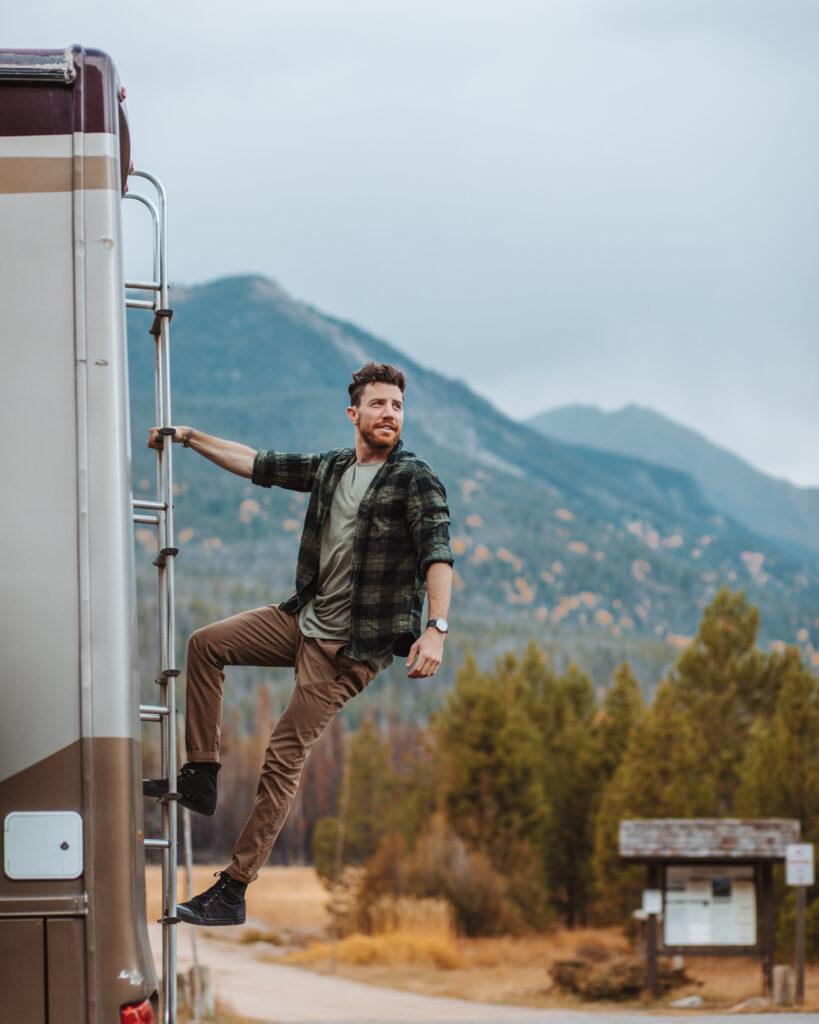
Indoor RV ladders are useful if you have high storage spaces you find difficult to reach. If your RV doesn’t have a built-in ladder on the outside of your rig, you’ll need to purchase outdoor RV ladders for washing and maintaining your motorhome. You may also need bunk ladders for your RV.
1.) Multi-purpose ladders
A multi-purpose ladder can be adjusted, depending on the job you need it to do. Multi-purpose ladders are usually extendable, and you can use them as step ladders, scaffolds, wall ladders, or stairway ladders. You could find yourself using a multi-purpose ladder in a variety of different situations, and it can be a valuable asset.
2.) Exterior RV ladders
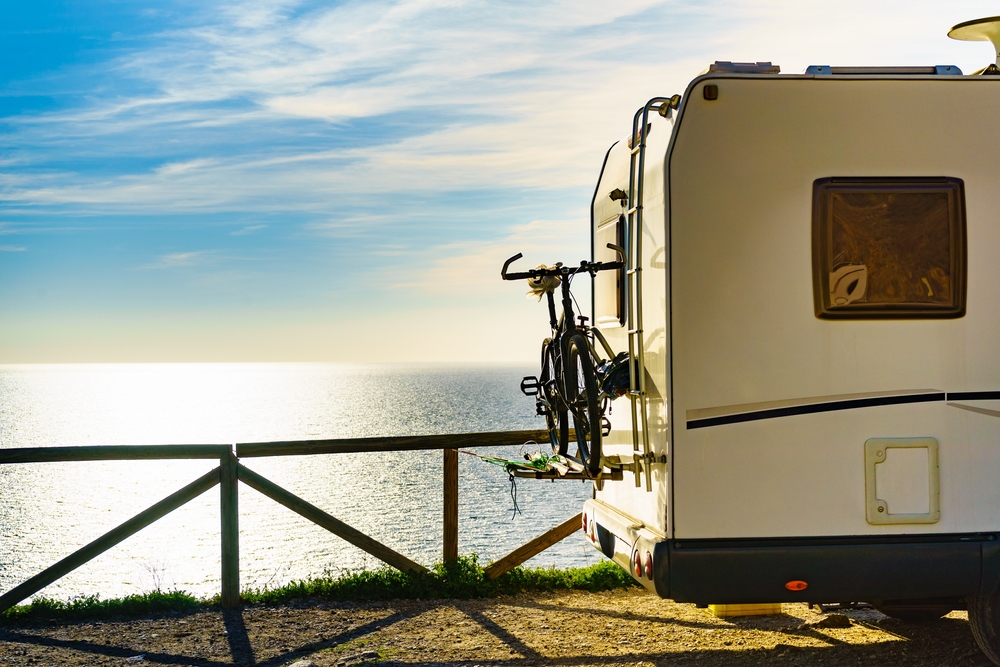
Exterior ladders are used on the outside of your RV, to help you wash or perform maintenance on your rig and access your roof. You’ll want to make sure any exterior ladder you use is rust-resistant and able to withstand bad weather.
3.) Bunk ladders
RV bunk ladders can’t really be repurposed to use in other situations, but if you have bunk beds that are used frequently, especially by kids who need help climbing up, they’re going to be a useful addition to your motorhome.
4.) Step ladders
Step ladders will be helpful when you need to reach high storage in your RV or to help kids reach sinks and other areas that are out of their reach. Most step ladders also fold and can be easily tucked away and stored.
How do I choose what RV Ladder is right for me?
If you have a rounded trailer like an Airstream, a telescoping ladder will work better for you. An A-frame ladder will work better for a more squared-off motorhome. If your RV doesn’t have one, you may also want to install an exterior RV ladder so you have a quick, permanent way to access your roof.
A-frame and telescoping ladders to consider
Little Giant Alta One Model 22-foot Ladder
This A-frame ladder has aircraft-grade aluminum construction and works as an A-frame, staircase, extension, or scaffolding ladder. It holds up to 250 pounds and is very lightweight and portable. The wide legs and rubber feet are great safety features.
Xtend & Climb Heavy Duty Telescoping Ladder
This telescoping ladder is lightweight and strong – perfect for RV life! The no-pinch design is a great feature, and the various ladders are rated for up to 300 pounds, depending on the model you choose. There are also a variety of lengths available. The ladder collapses down to a very manageable size for storing and transporting in a motorhome.
WolfWise 15.5FT Aluminum Telescoping Ladder
This telescoping ladder holds up to 330 pounds and is made of a premium aluminum alloy. It has a stabilizer bar and non-slip mat for safety, and the one-button retraction means you’re not in danger of pinching your fingers when folding the ladder up afterward. It folds down for compact storage, and has a heavy-duty strap for carrying or hanging it to store.
Bunk ladders to consider
Bunk ladders are a huge help to anyone trying to awkwardly haul themselves up onto the top bunk in an RV! They’re also helpful for kids. When they’re not in use, bunk ladders should slide into a small space to be stored while you travel. Here are a few to consider for your motorhome.
Stromberg Carlson LA-460B 60” Black Bunk Ladder
This ladder is simple and basic, with rubber feet to keep it from slipping on the floor. It also has rubber treads to keep people climbing the ladder from slipping on the rungs. The basic black means it will go with any RV decor, and it has two methods to attach it to the bunk. The thin style means it’s easy to store when it’s not in use.
Quick Products QP-LA-466B RV Bunk Ladder
This bunk ladder mounts over your existing bed frame, or you can use the mounting brackets provided to attach the ladder. The rubber foot pads mean your ladder won’t slip while people are trying to use it, and it’s easy to install and remove when you travel.
Other ladders
Cosco Folding Step Stool with Rubber Hand Grip
This lightweight step stool is handy for reaching objects in your RV that are in high storage areas, or for helping kids to reach the sink to brush teeth or other tasks. The rubber feet mean it won’t slip, nor will it mark up your floors. The ladder stores flat when not in use.
Stromberg Carlson 139.21 LA-401 Universal Exterior RV Ladder
This ladder gets great reviews, although many people advised that it takes a while to install properly. With it, you’ll be able to access hard-to-reach areas on the roof of your RV, so you can clean and fix things up high. It’s sturdy and well-built.
How do you hook up a ladder to an RV?
Always install your RV ladder according to the instructions provided by the ladder manufacturer. You may also want at least one other person for safety purposes and to help you with your installation. In general, to install an exterior RV ladder, you’ll want to do the following:
- Place your ladder where you plan to install it, almost always on the back. If you plan to place it somewhere that is not indicated on your installation instructions, contact the manufacturer first to be sure that will work.
- Mark where your ladder will connect to the frame of your RV, and drill holes that correspond to the holes on your ladder meant for installation.
- Coat the underside of the mounting tabs with caulk or silicone
- Attach the ladder with the screws provided, through the caulked mounting tabs. Screw in any remaining screws and wipe off any excess sealant or caulk. Allow to dry.
- Carefully test ladder to be sure it’s properly attached
How much weight can an RV ladder hold?
Always check the manufacturer’s instructions for your ladder to see the maximum weight it can hold. Most exterior RV ladders can hold between 250-300 pounds. If you’re getting onto the roof of your RV itself, you’ll also want to check your vehicle owner’s manual to see how much your roof can hold.
Telescoping and A-frame ladders often hold about the same amount of weight – between 250-300 pounds, depending on the model. Step ladders and extension ladders all have ratings that indicate how much weight they can hold. Type I ladders are for heavy-duty industrial use and can hold up to 250 pounds. Type III ladders are meant for light household use and can support 200 pounds, and Type II ladders are in-between. Check the type of ladder and weight limit before you purchase one so you can be sure you have what you need.
This post contains affiliate links. RVshare may receive compensation if you make a purchase after clicking on a product link.

