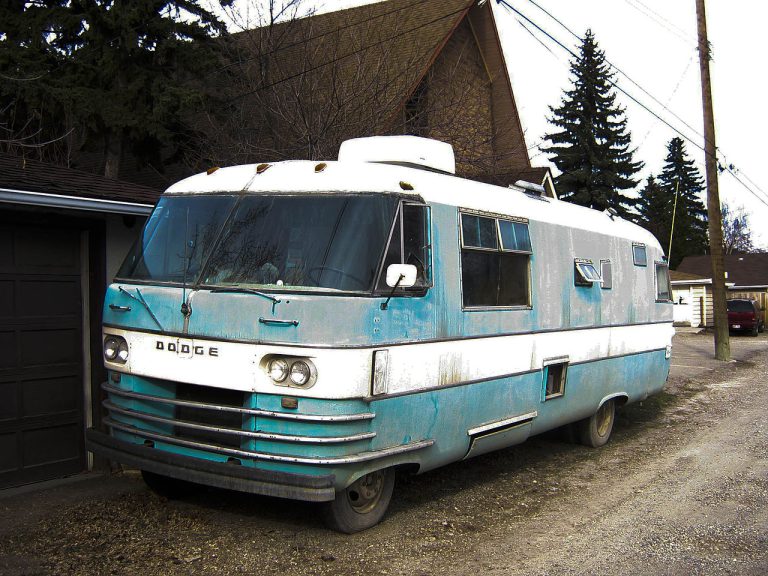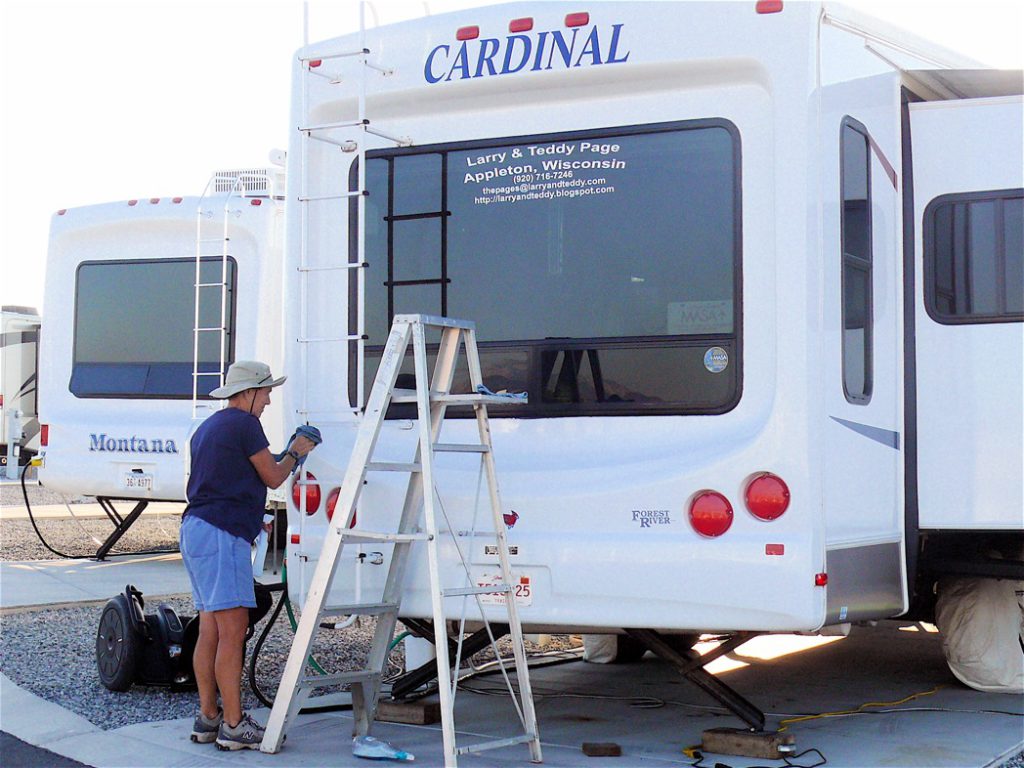
If you’ve owned an RV for long, you probably already know that water is an RVer’s worst enemy. Why? Because water and moisture create mold, mildew, and dry rot. These things, if left unchecked, can quickly take over your tiny home-on-wheels, leaving you with serious and costly problems.
While the biggest mold, mildew, and rot issues occur within the walls and floor of an RV, it is also possible to find mold and mildew growing on the outside of your RV. This problem is not as urgent or serious as mold found growing in the RV walls or floors, but it should still be taken care of fairly quickly.
In this article we will discuss exterior RV mold removal as well as RV mold prevention, so you can get your RV cleaned up and looking spiffy and avoid this issue in the future.
The Importance of Mold Remediation
Before we begin, let’s discuss the importance of getting rid of mold on the outside of your trailer or motorhome. The first and most obvious reason for doing this is simply that these growths are unsightly, can cause stains, and could even result in your rig being turned away from some campgrounds and RV parks.
However, there is a more serious reason for RV mold removal. You see, this exterior mold and mildew, if left unchecked, could eventually sneak into cracks and crevices, making its way into the interior of your tiny home and causing sickness and rot.
Because figuring out how to get rid of mold inside a trailer or motorhome is much more difficult than figuring out how to get rid of mold that has grown on it, this is best avoided altogether.
The Best Mold Killer Solution
Obviously, you need to take steps toward removing any mold and mildew from your rig as soon as possible. The first step, of course, is finding a high-quality mold and mildew remover solution.
Our suggestion? Create your own mold cleaner. Not only is this DIY solution cheaper than store-bought products, we also feel that it is more effective in the vast majority of cases. In fact, this solution will even help with the dreaded black mold removal.
To make a DIY mold and mildew remover, simply mix a gallon bucket of hot water with a cup of powdered dishwashing detergent and a dash of bleach. This will cut right through the mold, mildew, and scum without hurting the paint or fiberglass.
Be sure to finish the job with a good rinsing and waxing. Note that we do not recommend using a power washer at any point in this process if it can be helped. A power washer can actually open up tiny holes or cracks in the sealant on an RV, causing leaks.

How to Clean Mold from an RV Roof
Occasionally, campers will have issues with mold growing on their RV roof. For those with fiberglass roofs, this can be cleaned away in exactly the same way as mold spots on the siding are cleaned. However, if you have a rubber roof, the job becomes a bit complicated.
Wondering how to kill mold on your rubber roof? Some people recommend using a solution of warm water and a splash of bleach. This is the safest solution, as bleach won’t hurt your RV roof or siding.
However, some people prefer to use Tilex, claiming it is stronger and more effective. This cleaning solution is safe for rubber roofs, but not necessarily for siding or decals. Therefore, you will want to be very cautious when using Tilex, making sure it doesn’t make its way down the sides of the trailer or motorhome during washing or rinsing. Read more about picking the best cleaner for your RV roof.
How to Get Rid of Mold on an RV Awning
Another place where things like to grow is on RV awnings. This is likely because awnings spend much of their time rolled up, trapping water inside. Fortunately, an RV awning is fairly easy to clean as long as you have the right products to do so.
If you need to know how to get rid of black mold, scum, mildew, and other icky things growing on your awning, we highly recommend purchasing a bottle of the same Tilex mentioned above. This, along with a long-handled scrub brush, will make cleaning your awning a relatively easy task that can be done every few months and without too much hassle.
Of course, you will want to make sure to let your awning dry completely before rolling it back up. Otherwise, you’ll likely be faced with a dirty canopy once again the next time you open it up.
What Creates a Need for RV Mold and Mildew Removal?
What is it that causes cold and mildew to grow on the outside of a travel trailer or motorhome? Moisture, of course! Therefore, if you spend a lot of time in humid areas, you’re much more likely to deal with this issue.
Fortunately, there are ways to prevent—or at least reduce the severity of—exterior mold growth:
- The first solution is simply to clean more often. If mold isn’t given a chance to grow, your RV will be much easier to clean. Therefore, we recommend washing at least every 3 months to catch mold and mildew before they get out of hand.
- Parking in direct sunlight is also helpful. Mold likes dark and damp places, so keeping your rig out in the sun will discourage it from making itself at home on your tiny home.
- Finally, avoid leaving wet spots anywhere on your RV. Give water an easy way off the roof by cleaning out the gutters on a regular basis, and make sure your awning is tilted slightly to encourage water to drip off of it. You’ll also want to be sure any slides and awnings are completely dry before bringing them in.
Cleaning your RV frequently can help avoid a whole host of issues. Make it part of your regular RV maintenance routine, and it will become a habit in no time!


