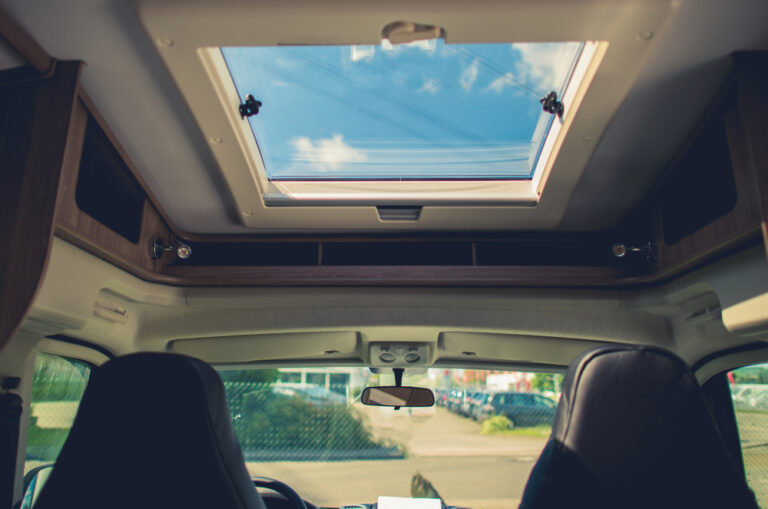
An RV skylight can be a great addition to your rig! Skylights bring in more natural, outdoor light and give your RV a roomier feeling inside. They can be an extra source of ventilation. Skylights can also lower the energy consumption of your RV. They can even provide an escape route in an emergency.
In this article, we’ll take a look at the different parts of your skylight and how to care for them. We’ll learn how to replace a skylight if it’s cracked or damaged. And we’ll look at skylight covers, why you may want one, and some possible covers to try.
This post contains affiliate links. RVshare may receive compensation if you make a purchase after clicking on a product or service link.
RV Skylight 101
An RV skylight effectively consists of two pieces. On the inside of your RV, there is an inner liner with a clear cover that allows the natural light in. It also includes a plastic frame that is screwed into the ceiling. On the outside of the RV, screwed into and sealed to the roof, is the skylight dome.
The interior liner of your skylight should be checked often for normal wear and tear. If you have an RV shower skylight, that area will likely get damp and humid. You’ll want to keep the interior liner clean so that mildew doesn’t form. Additionally, be sure the edges of the frame of the liner are in good repair. It isn’t uncommon for the frame of the liner to crack around the screw holes, and if this happens, you’ll want to replace the liner and frame.
Like other parts of your RV roof, you’ll want to check the exterior of your skylight one or two times a year. Check the dome itself for cracks from age, flexing, or the occasional tree branch hitting the top of your RV. Also look for bubbles that may have formed in extreme conditions like heat, which can also lead to cracks or leaks. Additionally, it’s important to check the sealant around your skylight dome. Like other parts on the roof of your RV that are sealed, you’ll want to reseal the edges of your skylight dome. One or two times per year should be sufficient, depending on the conditions in which you use your RV. Extreme temperatures can lead to the sealant wearing out more quickly. If the sealant begins to crack or tear, it can lead to leaks very quickly.
RV Skylight Replacement in 11 Steps
If your RV is older or has seen a lot of wear and tear, it might be time for a replacement. This is an easy do-it-yourself project, but it’s important to pay attention to details while you’re doing it. After all, you’re dealing with the roof, and the last thing anyone wants to worry about is roof leaks or damage.
You’ll want to measure the existing skylight dome. Pay particular attention to the size of the dome itself, and the width of the flange where the screws fasten the dome to the roof.
Next, you’ll need to find a replacement. Your local RV parts and service center should carry replacement domes, or you may find more variety by checking online. If your RV is older, you may have trouble finding a replacement that is the same size as your current skylight. You can choose an dome that’s a different size than your original, but it must be larger.
By far the most popular style of skylight is the dome, which has a rounded top extending from a square or rectangular base. This shape allows water to run off it more easily (as opposed to a flat surface), plus it looks great on any style of camper.
To replace your RV skylight:
- Purchase the manufacturer’s recommended sealant
- Use a putty knife to scrape away old sealant
- Remove the original screws
- Remove the old dome
- Scrape away any additional remaining sealant
- Cover original screw holes with a bead of manufacturer’s recommended sealant
- Dry fit your skylight replacement
- Use self-tapping screws to fasten your replacement
- Run a bead of sealant around the edge of your new skylight
- Cover each of the screw heads with sealant
- Let the sealant dry before checking for areas that need a touch-up
Once you’ve replaced your skylight, be sure to check it, along with all areas of your RV roof, a few times each year. Wear and tear or trouble spots where sealant may have become worn, cracked, or brittle, will become problem areas in a hurry.
Need more help? The RV Geeks have a video:
Skylight Replacement Cost
There will be a few expenses when you replace your RV skylight. You’ll need to buy a new skylight to replace the old one. RV skylights can range from $32 to $120, depending on the quality of the skylight. You’ll also need sealant. A small tube of RV sealant for skylights is about $20.
RV Skylight Cover Options
You may want a cover as well as a skylight. A cover can keep your RV cooler in summer and reduce heat from the sun. It offers UV protection and blocks the light when it’s too harsh. There are many options for RV skylight covers, including the following:
- Camco Camper RV Vent Insulator and Skylight Cover
- Waterproof Non Slip RV Vent Insulator and Skylight Cover
- SIKADEER RV Vent Insulator 22″x14″x3″, Universal RV Skylight Cover
Hopefully, this guide has helped you understand how to care for and replace your RV skylight. If you’re doing more maintenance on your RV, this article on replacing your RV awning may be helpful!


