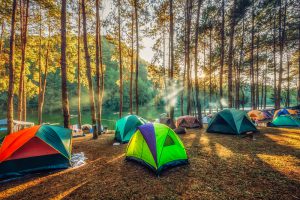
 If you’ve got your heart set on some old-school camping — that is, *actually* roughing it with a tent — you’ve likely got a little bit of homework to do first. As any dad who’s ever attempted to pitch a tent in the backyard for a birthday party can attest to, it’s not as easy as it looks… and that’s especially true when you’re in the middle of the woods.
Whether it’s a long day of driving or a strenuous multi-mile hike that leads you to your tent camping destination, you don’t want to get there just to be caught off-guard, trying to read confusing tent setup instructions in the midst of your would-be serene getaway. And along with figuring out how to put up a tent, there’s also the question of where: which sites are best and, more importantly, legal? Depending on where you’re headed, the rules may vary… but rest assured, there are definitely rules.
It all sounds super complex, right? But don’t worry! Human beings have been sleeping in the great outdoors for centuries — and chances are, where others have gone, you can go too. (Especially if you read this post first.)
Stay tuned while we show you how and where to set up a tent, even if it’s literally your very first outdoor adventure.
Where to Pitch a Tent
Before we learn how to set up a tent, we’ve got to cover the barest basics: *where* are you going to put that thing up in the first place?

For the purposes of this post, we’re going to assume you’re going in for some backcountry camping. (After all, “picking” a campsite in a developed campground is a lot less confusing… and oftentimes, you don’t even really have a choice.)
Depending on the park or wilderness area you’re visiting, there are bound to be some hard and fast rules about which campsites are actually allowed — all of which is information you can pick up from a park ranger (or even on one of the nifty signs at the trailhead everyone usually walks by). Usually, these rules include some sort of time limit — two weeks is pretty standard — as well as regulations about campfires, proximity to bodies of water, etc.
Which brings us to the first, and arguably most important, part of picking a prime campsite: water. You want to make sure you have some! If you haven’t brought along your full supply of water, which can be challenging even on short backpacking trips, it’s important to situate yourself close, but not too close, to a source like a river if available. (You ALWAYS want to ensure you purify natural water before drinking it or using it for cooking. Boiling it is a good low-tech option, but you can also invest in a LifeStraw or some other high-powered, portable water filtration system.)
Of course, although proximity to water is a positive thing, you don’t want to be too close — because you run the risk of contaminating it. Hey, everyone has to pee in the woods eventually! Most parks require a distance of at least 200 yards from water sources, though, again, this varies depending on your specific location.
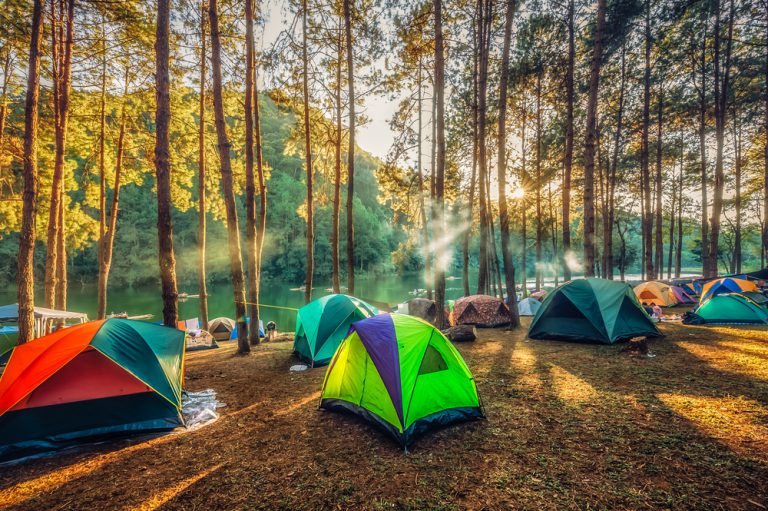
Along with water, another key component to picking an enjoyable campsite is to find one that’s level, dry, and shady. These three attributes are all important for properly pitching your tent and actually being able to sleep in it, especially if you’re camping in a place with hot weather.
Finally, whenever possible, select campsites that have already been used for that purpose. Even campers with a light touch inevitably destroy part of the environment by stepping on plants or cooking over a fire, so reusing available campsites is a much greener option. (You basically NEVER want to start a fire where there isn’t already a designated fire ring.)
With these tips, you should be well on your way to selecting a good campsite — so now let’s talk about actual tent setup.
How to Set Up a Tent
Much like properly selecting a campsite will depend on your specific destination and its rules, so too will setting up a tent vary based on the specific brand and type you’re using. That said, the basic steps for most tents are pretty standard.

First, you’ll want to ensure you’ve chosen a flat, dry place to pitch your tent in. (We just covered that, so you should be set on this front!)
Unpack all of the tent’s components before you begin. That way, you won’t be scrounging around in the bag, wondering if you’re missing anything, with half your tent erected. Most tents are comprised of tent poles, tent stakes, the tent itself, and a rain fly, and with all of them spread out before you, you’ll be able to see exactly what you’re working with.
Unfold your tent and lay it in the area you’re planning to pitch it. Be sure to think about which way you want it to face — maybe you want to watch the sunrise, or maybe it’ll be an unwelcome early wakeup call!
Then, if your tent has a ground cover or “footprint,” lay that out first, and then stake your tent by the corners. You’ll want to pull the floor taut as you do so.
Once your tent is staked down, connect your tent poles to assemble the tent frame. While this step will vary considerably depending on what kind of tent you have, it will likely entail sliding your tent poles into thin sleeves of the tent material and securing them in grommets at the base of the tent to produce the dome shape that lets you use the tent as a shelter.
Finally, if your tent comes with a rain fly, that goes on last. Voila: home sweet home (away from home)!
Easy Set-Up Tents
If all this tent set up sounds like kind of a lot to you — well, you’re not alone. And clever tent manufacturers have found a way to capitalize on that little bit of laziness. (Hey, this is supposed to be a vacation, not work!)
So if you’ve still got your heart set on tent camping, you might want to consider an “easy-up” tent, which assembles from the ground up in mere seconds.

Easy-up or pop-up tents take most of the work out of tent set up with unique technologies that allow the tent to go from flat to fab in just a few moments. One popular model is made by Coleman, and the company claims it goes up in a mere ten seconds. Can’t beat that!
The Best Camping Setup… Might Not Be a Tent at All
Here’s the thing: even the very best tent camping setup is not going to be as luxurious as traveling in a motorhome or travel trailer. And while some people are specifically after that rustic experience, others are much happier with “glamping.”

But the good news is, you can totally enjoy the camping lifestyle even if you never want to put up a tent in your life! The proliferation of RV rental options has made it easier than ever to get on the road, even if you don’t own your own rig… and with the peer-to-peer market here at RVshare, you’ll even save money in the bargain.
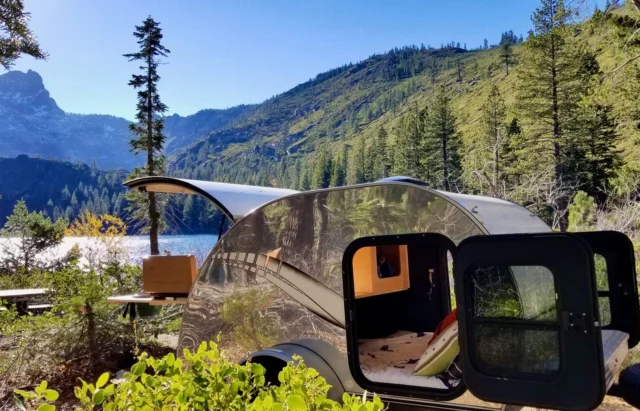
Our rental fleet is offered by a trusted network of private owners, and it offers rigs of every shape, size, style, and footprint. The same can’t be said of the major nationwide franchises, which usually only carry Class A and Class C coaches — luxurious, sure, but also serious gas guzzlers and not the be-all, end-all of the RVing experience! If you’ve ever wanted to experience the RVing life in an Airstream, a sleeper van, or a fairy wagon, you might just be able to find what you’re looking for at RVshare… and all for a much better price than those big franchises can offer.
Finally, keep in mind that RVshare’s unique and secure platform takes all the guesswork out of the peer-to-peer rental process. You won’t have to worry about sharing your sensitive information or wonder “what if” while you’re on the road; each of our rentals are covered by A-rated insurance for the entire duration of your vacation. And the money you do spend on your rental will go right back into the camping community (which, spoiler alert, you’re a part of now!), so you can feel great about your vacation.
Or… you can pitch a tent. That works, too!
This post may contain affiliate links.

