Nobody wants to sleep in a tilted bed, and RV refrigerators can be damaged if left to run in an unlevel position. Besides all that, a shaking, rocking camper is pretty difficult to make yourself at home in.
For these reasons, learning to properly level and stabilize your RV is one of the first things you’ll want to do before hitting the road on your RVing adventures.
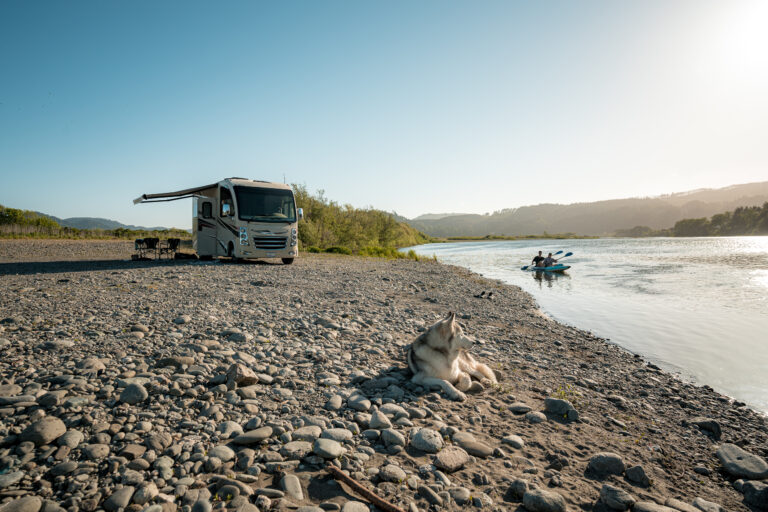
RV Leveling System
Let’s begin by discussing the various types of RV levelers out there.
The lightest campers—such as pop-ups, truck campers, and camper vans—may not have any factory installed leveling system at all. Because these rigs are smaller, they can almost always be made level by placing something such as a piece of wood or RV leveling blocks under one or two tires.
Mid-range RVs such as bumper-pull travel trailers tend to have factory installed hand-crank RV leveling jacks. These are pretty straightforward. They crank down from the corners of the trailer and do a pretty good job of straightening out a trailer that is only slightly tilted while also offering some stability.
Lastly, there are the amazing, easy-to-use hydraulic leveling systems. These are usually found on bigger rigs, and they work with the push of a button, automatically leveling and stabilizing the entire RV. That said, these systems do have their own quirks, so be sure to do your research before investing in anything.

What to Know about Manual Camper Jacks
Hand cranks can offer some help as motorhome or travel trailer stabilizers and levelers. That said, they should not be the only thing you use to level your rig.
You see, these simple trailer jack systems are not made to level a rig that is parked on very uneven ground. In these cases, you’ll want to pull one or two of your wheels onto something such as planks of wood or RV leveling blocks in order to get everything fairly level before putting the jacks down.
Additionally, you never want to use your stabilizer jacks to lift the entire trailer for RV maintenance and tire changes. This will almost certainly lead to damaged jacks, and could lead to serious injury.
When you do put the jacks down, consider placing plastic jack pads underneath. These help protect the asphalt and help prevent your jacks from sinking into soft ground.
What to Know About Hydraulic RV Jacks
Hydraulic jacks are much stronger than their hand-crank siblings. When they are all down, these jacks can actually lift the entire rig off the ground, making it super easy to change a tire or do other work under the rig.
All in all, these systems are very easy to use and maintain, but there are a few things you’ll want to know.
- Only use these jacks on a solid surface. Otherwise, you may find yourself sinking into the dirt or sand.
- Put the jacks on one entire side or one entire end of your rig down and up first in order to avoid twisting.
- Maintain your system by ensuring there is enough fluid in the reservoir.
- Use leveling blocks on extremely unlevel ground just to be extra cautious.
Recommendations for RV Leveling Blocks, Levels, and Stabilizers
Before you go out to level your RV, you’re going to want to have the correct RV equipment. We recommend investing in a good level, a set of leveling blocks, and at least one additional stabilizer.
Here are our favorites:
Level: LevelMatePRO Bluetooth Vehicle Leveling System
Leveling blocks: Camco RV Leveling Blocks
Stabilizer: SteadyFast Stabilizer System (note there are different types for different RVs)
Leveling a Travel Trailer
Finally, we are going to chat about leveling your RV. Because most motorhomes have the hydraulic leveling systems mentioned before, we are going to focus on leveling a travel trailer.
Begin by finding a fairly level site if at all possible. Pull into the site and determine if you’ll need to lift one side. If so, place leveling blocks—stacked to the correct height—just behind or in front of the wheels and drive onto them.
Place wheel chocks behind and in front of the wheels still on the ground to prevent rolling. For extra stability, you may choose to use X-chocks instead.
Once you are relatively level from side to side and you are sure you aren’t rolling anywhere, begin deploying your factory installed jacks, ensuring each one is firmly on the ground. Adjust your jacks as you go until you have a nice, level trailer. Those with manual jacks may find it easiest to use a cordless drill to do this step. Meanwhile, those with hydraulic leveling systems should remember to put their jacks out one entire side or end at a time.
At this point, if you have an additional stabilizer, go ahead and use it per the factory instructions.
With a nice, level RV you’re sure to fully enjoy your RVing adventures. Now get out there, level that rig, and have a blast!
This post may contain affiliate links.

