How familiar are you with your RV’s sewer vent cover?
Tucked away out of sight on your rig’s roof, it might not be a piece of equipment most of us think about every day. But RV vent covers perform an important function, allowing an RV’s plumbing system to work effectively and helping to displace holding tank odors.
In short, if your RV sewer vent becomes clogged, you’re going to notice it. And quickly.
But fortunately, performing an RV vent cover replacement is a pretty simple task that you can easily handle yourself. (It’s always nice to save money on that seemingly ever-present RV repair bill, isn’t it?)
Here, we’ll walk you through exactly how to go about replacing that defective RV sewer vent cover and get everything running smoothly in no time.
1. Gather your tools and materials.
In order to keep yourself from scrambling later on in the replacement process, go ahead and gather all your tools and repair materials together ahead of time. For this project, you’ll need:
- A new sewer vent cover
- A putty knife
- A handheld screwdriver
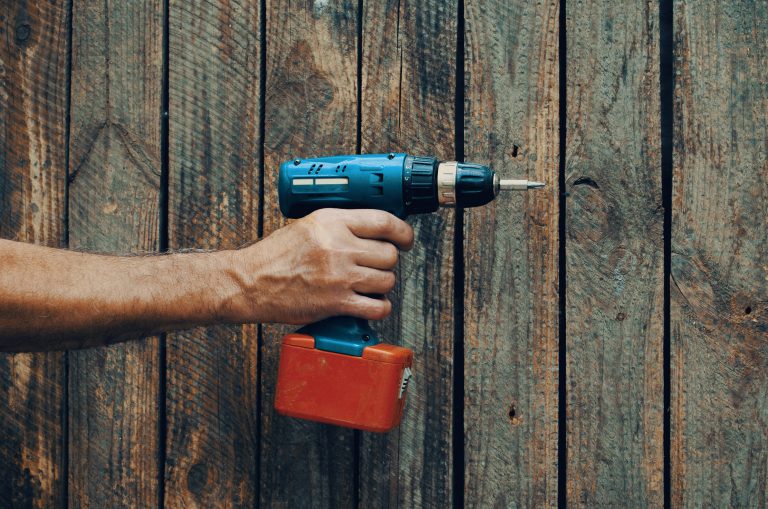
- An electric screw gun/drill
- RV-appropriate sealant, such as Dicor and caulk gun
- Mineral spirits to clean and prepare surface
- Paper towels
- A dry rag
Always ensure you’re using a sealant that will work with your RV’s roof material, which may be rubber, aluminum, or fiberglass. Regular household caulk is generally not appropriate for RVs, which encounter temperature fluctuations and constant motion not found in a stable, foundation-built home. If you’re unsure what kind of roof your rig features (or whether or not it’s even safe to walk on), check your owner’s manual before heading upstairs.
2. Remove the old vent cover.
Out with the old, in with the new!
Begin by prying up the old sealant surrounding your existing sewer vent cover. You can do this using your putty knife and also your handheld screwdriver.
Once you get the initial layer of sealant off, you may notice it’s stuck in the threading on the heads of the underlying screws. You will need to pick that excess sealant out with your screwdriver, as those screws need to come out in order to remove the old cap.
Once you’ve sufficiently exposed the screw heads and freed the cap from its sealant, loosen the screws with your screw gun and lift off the existing vent cap.
Better already, right? And the hardest part is already over!
3. Thoroughly clean the area.
Now that you’ve pried off the old sewer vent cover, use your putty knife to remove the rest of the remaining sealant, with the exception of the ring of sealant closest to the vent pipe. Once you’ve removed all the excess sealant you can, clean off the area entirely with mineral spirits, using a paper towel to gently scrub away until you’re down to the underlying fiberglass.
After everything’s spic and span, use a dry rag to scrub away any excess debris or remaining mineral spirits. You’ll also want to allow the roof about a half an hour to dry, simply to ensure that any remaining cleaning product is totally evaporated, leaving a nice, dry, clean surface for your new sewer vent cap’s installation.
4. Fit the new cap to the sewer vent pipe.
To ensure you place sealant in the right area, set the new vent cap in its place around the sewer vent pipe to see where it will need to be bonded. You may notice that the screw holes from your old vent cap don’t line up — but that’s okay since everything’s going to be covered over with sealant anyway. You can simply drill new ones.
5. Bond the new vent cover to the roof.
Using your caulking gun, place a primary bed of sealant down around the vent pipe in a circle, right where the new vent cover will lay when you put it down. Be generous. It’s better to have too much sealant than too little!
Make sure the sealant covers any existing screw holes left behind by your old sewer vent cap.
Then, while the sealant is still wet, place the new vent cover down on top of it and wiggle it into place gently, applying firm, steady pressure to facilitate the bond.
Looking good… almost done!
6. Finish securing the vent cover with screws and extra sealant.
Now that your vent cover is in place, all that’s left to do is to secure it and protect against any possible leaks.
First, you’ll need to replace the screws to help secure the cap to your RV’s rooftop. Again, you may need to drill new holes, but that’s not a problem since the old ones have been covered over. Many of the screws that come with sewer vent caps are self-tapping, making it easy to screw them in. Be careful not to over-tighten the fixtures, however, since the cap is made of plastic and could crack.
Once the screws are in, add a generous glob of sealant over each screw head, and then a final circle of sealant over everything to safeguard against leaks. Don’t worry too much about making it pretty — as the sealant dries, gravity will naturally help it thin out and lie flat and even.
Screw on the upper portion of the vent cap, and voila: you’re done! A brand new sewer vent cover with no RV repair shop bill in sight.
