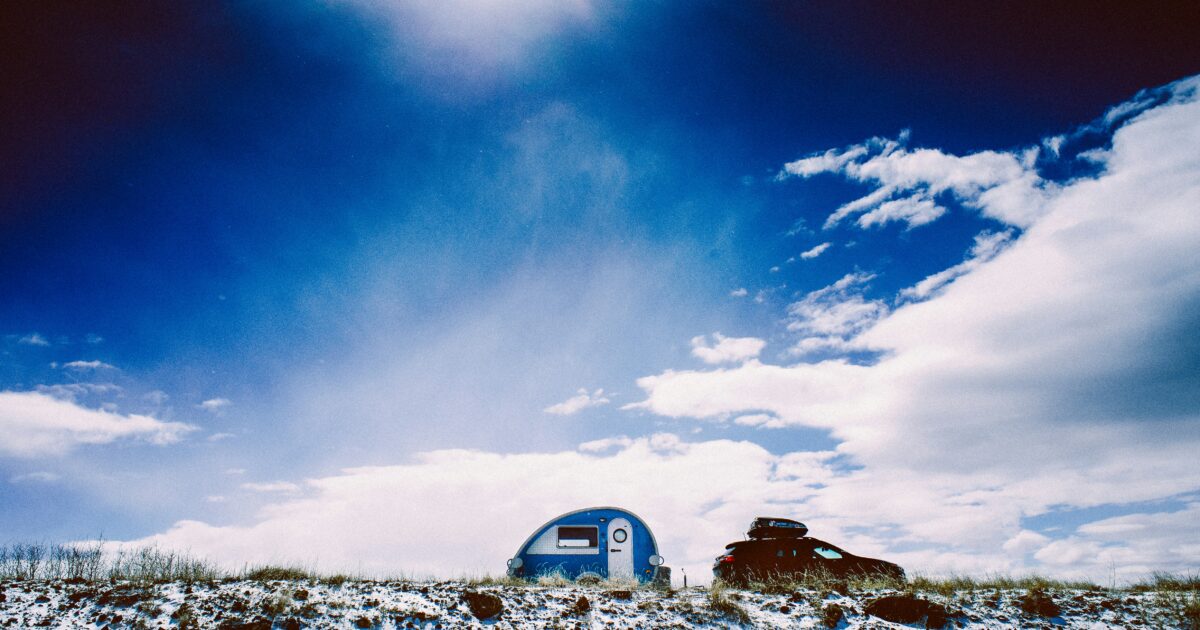
As the leaves change and a crisp chill fills the air, many of us start dreaming of cozy nights and crackling fires – perhaps in a teardrop trailer nestled in a quiet, snowy landscape. While some adventurous souls love winter camping, for most teardrop owners, the colder months mean it’s time to prepare your beloved little home-on-wheels for a long winter’s nap. Proper winterization is one of the most important things you can do to protect your investment and ensure it’s ready for countless adventures next spring.
Think of it as giving your teardrop a well-deserved spa day before it hibernates. Skipping this crucial step can lead to costly damage from freezing temperatures, especially to your teardrop trailer’s sensitive plumbing system. Whether you’re a seasoned RVer or relatively new to the teardrop life, this comprehensive guide will walk you through each step, making the winterization process simple, straightforward, and stress-free.
Why Winterization is Your Teardrop’s Best Friend (and Yours!)
You might be asking, “Is it really necessary to winterize a travel trailer?” The answer is a resounding yes! The primary reason to winterize your teardrop trailer is to prevent water in its plumbing system from freezing. When water freezes, it expands, and that expansion can wreak havoc on your water lines, faucets, water pump, and tanks. Imagine the headache and expense of burst pipes or a cracked fresh water tank when you’re eager to hit the road in spring.
Beyond just the plumbing, proper winterization protects your entire teardrop from potential damage. It guards against mold and mildew buildup in the interior, keeps pests from making your cozy camper their winter home, and prolongs the life of your battery and tires. For those who see their teardrop as more than just a vehicle – as a way of life, an escape into natural beauty, or a means to share incredible experiences with loved ones – taking the time to properly winterize is an act of care that ensures many more joyful journeys down the road. It’s an investment in future memories, safeguarding your teardrop so it remains a reliable companion for all your travels, whether they’re for relaxation or adventure.
Essential Tools and Supplies for Teardrop Trailer Winterization
Before you dive into the winterization process, gathering your supplies will make the job much smoother. You’ll need a few key items to ensure your teardrop trailer is thoroughly protected. Most of these can be found at your local RV supply store or a well-stocked hardware store.
Here’s your shopping list:
- Non-Toxic RV Antifreeze: Make sure it’s specifically designed for RVs and clearly labeled as non-toxic. The amount you’ll need depends on your teardrop’s plumbing system, but usually, 2-3 gallons are sufficient for smaller trailers. This “pink stuff” is crucial for protecting your plumbing system from freezing.
- Water Pump Bypass Kit (if not already installed): Many teardrop trailers come with a bypass built into their water heater, but if yours doesn’t, this kit allows you to add antifreeze without filling your hot water heater (which would waste a lot of antifreeze).
- Water Heater Drain Plug Wrench: For removing and re-installing your water heater’s drain plug.
- Hose or Blow-Out Plug with Air Compressor (Optional but Recommended): An air compressor with a blow-out plug can help clear initial water from your lines before adding antifreeze. However, antifreeze is still essential.
- Cleaning Supplies: Mild soap, brushes, sponges, and towels for a thorough interior cleaning.
- Moisture Absorbers/Desiccant Packets: These will help keep your interior dry and prevent mold.
- Battery Terminal Brush and Corrosion Protector: For battery maintenance.
- Battery Tender/Trickle Charger: To keep your battery charged during storage.
- Tire Covers: To protect tires from UV damage.
- Gloves and Safety Glasses: Always a good idea when working with chemicals.
Having these items on hand before you start will ensure a seamless winterization process, allowing you to confidently prepare your teardrop for the cold months ahead.
The Step-by-Step Process: Protecting Your Teardrop’s Plumbing System
The core of winterizing your teardrop trailer revolves around its plumbing system. Water, when left in pipes and tanks, is your biggest enemy in freezing temperatures. This detailed process ensures every part of your water system is safe.
1. Drain the Water System Completely
This is the most critical first step. You want to remove as much fresh water as possible before introducing any antifreeze.
- Drain the Freshwater Tank: Locate your fresh water tank drain plug, usually underneath the trailer, and open it. Let all the water run out. Once drained, close the plug.
- Bypass and Drain the Hot Water Heater: If your teardrop has a hot water heater, locate its bypass valves (usually three valves near the back of the heater). Turn them to the “bypass” position. Then, remove the drain plug from the hot water heater and let it completely drain. This step is crucial because you don’t want to fill your hot water heater with 6-10 gallons of expensive RV antifreeze! Once drained, leave the drain plug out until spring to allow the tank to air out.
- Open All Faucets and Shower: Open all hot and cold faucets inside your teardrop, including the shower head, to release any pressure and allow residual water to escape. Flush the toilet (if applicable) to drain water from that line as well.
- Low-Point Drains: Locate and open your low-point drain valves (often red and blue lines underneath the trailer) to ensure all water drains from the lowest points of your plumbing system. Close them once drained.
2. Introduce RV Antifreeze
Now that your system is as empty as possible, it’s time to add the protective, non-toxic RV antifreeze.
- Prepare for Antifreeze: Ensure your hot water heater is bypassed and drained. Most teardrops will have a water pump that can draw directly from an external source or a dedicated winterization port. If you have a winterization kit installed, use that. If not, you might need to use a hose to funnel antifreeze into your fresh water intake, or draw it in directly from a jug using your water pump.
- Activate Your Water Pump: Place the intake hose (or winterization hose) into your jug of non-toxic RV antifreeze. Turn on your water pump.
- Run Antifreeze Through Faucets: Starting with the faucet furthest from the pump, slowly open the hot water tap until you see pink antifreeze come out. Close it. Then, open the cold water tap until pink antifreeze appears. Repeat this process for all other faucets, the indoor and outdoor showers, and flush the toilet until pink antifreeze comes through the bowl and into the black tank. Don’t forget any exterior spray ports.
- P-Traps: Pour a cup or two of RV antifreeze down each drain (sink, shower) to ensure the P-traps are filled with antifreeze. This prevents residual water in the traps from freezing and cracking.
- City Water Connection: Briefly open and close the city water connection port (if you have one) until you see a trickle of pink antifreeze, ensuring that line is also protected.
- Do NOT put RV antifreeze in your freshwater tank: While technically possible, this is generally not recommended. It’s difficult to completely flush out the taste and smell of antifreeze from the large freshwater tank in the spring. It’s much more efficient to use your water pump to draw antifreeze directly into the lines.
- Is it okay to dump RV antifreeze on the ground? Non-toxic RV antifreeze is typically propylene glycol-based, which is safer for the environment than automotive antifreeze. While small amounts are usually not harmful, it’s always best practice to avoid unnecessary dumping, especially near waterways.
3. Don’t Forget the Details: Exterior and Battery Care
Winterization isn’t just about the water lines. The exterior and electrical system need attention too.
- Battery Maintenance: Disconnect your battery, clean the terminals with a wire brush, and apply a corrosion inhibitor. Store the battery in a cool, dry place where it won’t freeze. Connect it to a “smart” battery tender or trickle charger that maintains the charge without overcharging, extending its lifespan.
- Tire Care: Inflate your tires to their maximum recommended pressure. If possible, move your trailer occasionally to prevent flat spots. For long-term outdoor storage, consider using tire covers to protect them from UV rays and weather degradation.
- Exterior Wash and Wax: Give your teardrop a good cleaning to remove dirt and grime, then apply a protective wax. This helps protect the exterior finish from harsh winter elements.
- Propane Tanks: Turn off the valves on your propane tanks. You can leave them in place or remove them for storage in a well-ventilated area.
Interior TLC: Preventing Mold and Pests
While the plumbing is the main concern, the interior of your teardrop trailer also requires attention to prevent mold, mildew, and unwelcome guests.
- Thorough Cleaning: Clean every surface inside your teardrop. Wipe down countertops, wash the sink, and sweep/vacuum the floor. Pay special attention to the refrigerator/freezer; clean it thoroughly, dry it completely, and leave the doors slightly ajar to prevent mold and mildew growth. Remove all food items from the pantry and fridge.
- Remove Linens and Bedding: “Can you leave bedding in a trailer over the winter?” While you technically can, it’s highly recommended to remove all bedding, towels, and clothes. Wash them, and store them indoors in a climate-controlled environment to prevent them from absorbing moisture and developing a musty smell or mildew.
- Open Cabinets and Drawers: Leave all cabinet doors, drawers, and interior storage compartments slightly open. This allows for air circulation and helps prevent moisture buildup, which is key to stopping condensation in a trailer.
- Moisture Control: Place moisture absorbers or desiccant packets in various locations throughout the interior. These products help to absorb excess humidity. You might want to check and replace them periodically during longer storage.
- Ventilation: If your teardrop will be stored in a secure location, leaving a roof vent or a window slightly ajar (just a tiny crack) can promote crucial airflow. However, only do this if you’re certain it won’t allow pests or weather into the interior. This continuous, albeit minimal, air exchange is a great way to keep a trailer dry in winter and combat condensation.
- Pest Prevention: Make sure all entry points are sealed. Check for any small gaps around pipes or wires that pests could use to enter. You can place natural pest deterrents (like dryer sheets or peppermint oil cotton balls) in strategic locations, but avoid toxic pest control products inside your living space.
Final Storage Checklist for Peace of Mind
You’ve done the hard work, now it’s time for a final review to ensure everything is secure for the season.
- Review All Steps: Quickly go back through this guide to make sure you haven’t missed anything. Double-check all drains are closed (except the water heater if you left it open for airing), and all faucets are closed after the antifreeze has run through.
- Consider a Cover: If your teardrop trailer will be stored outdoors, a breathable RV cover can offer excellent protection from UV rays, snow, and ice. Ensure it’s breathable to prevent moisture trapping underneath. Avoid tarp-like covers that don’t allow airflow.
- Storage Location: Park your teardrop on a level surface, ideally under a cover or in an enclosed garage. If parking on grass or dirt, place wood blocks under the tires to prevent direct contact with moisture.
- Secure and Lock: Make sure all doors, windows, and compartments are securely closed and locked.
With these steps complete, you can rest easy knowing your teardrop trailer is fully protected against winter’s chill. It’s ready to weather the season, patiently awaiting your next grand adventure. Enjoy your winter, and we’ll see you on the road when spring arrives!