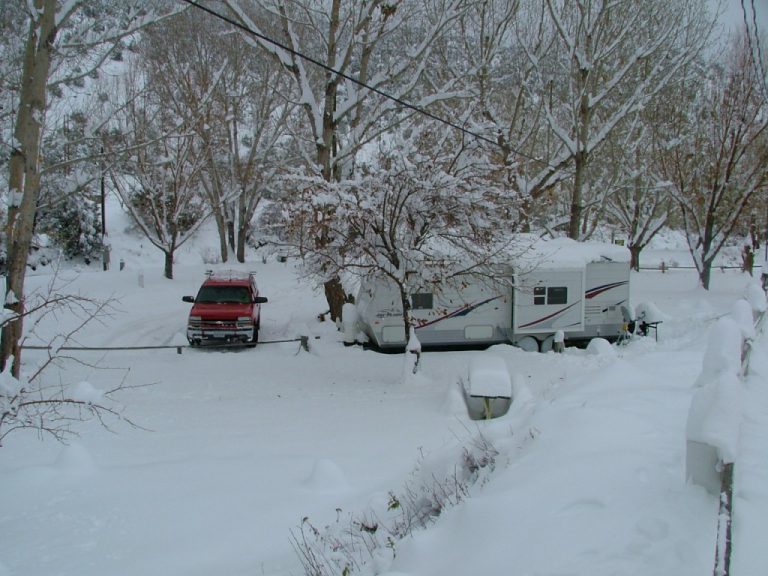
RV Winter Maintenance
The winter season is here, and that means it’s time to focus on those RV maintenance tasks you may have been putting off throughout the camping season. After all, you wouldn’t want to put a poorly maintained rig into storage only to have to pull it out and do all the work next spring. Besides, there are some tasks that must be done before the RV goes into storage in order to avoid expensive damage to the trailer or motorhome.
Wondering how to winterize a camper? One super important task when it comes time to winterize RV rigs is resealing the roof, windows, and corners.
This is a task that is often overlooked. In some cases, this is because RV owners have no idea it’s something they should be doing. In other cases, it’s because this is a rather tedious task that nobody particularly enjoys. That said, it is probably one of the most crucial maintenance tasks you can do to ensure your camper stays in tip-top shape for years to come.
Follow the steps below to learn how to winterize an RV trailer or motorhome’s seals, so they are watertight and ready to hit the road when the weather warms up once again.
How to Winterize a Camper: Checking Seals
Let’s begin by discussing how RV owners should check seals when they winterize campers. This is actually a fairly straightforward process, and though it can seem time consuming, it is anything but difficult.
Checking RV Window Seals
To check your window seals, visually inspect each one, looking for cracking or shrinking. Additionally, you will want to feel around each window for soft spots that may be caused by water seeping through the window seals. Finally, look for wrinkles or bubbling in the wallpaper near or beneath the window, which can also indicate a leak.
Checking RV Corner and Wall Seals
Next up are the corner seals, along with all the seals around the storage bay doors, outside lights, and other openings in the sidewalls. Again, these should be inspected visually. Look for cracks or holes, keeping in mind that water can and will find its way into any opening at all.
Feel the walls and floors in the corners of your RV (keep in mind that the storage bays are often the lowest point) searching for water damage caused by a corner leak. Also, check the storage bay floors for puddling.
Checking RV Roof Seals
Finally, you will need to climb up onto the roof. Make sure you actually climb all the way onto the roof so you can carefully inspect each and every seam. Seams can be found where the roof meets the sidewalls and around every vent, skylight, and every other opening on the roof.
Make sure you also go into the RV and feel around vents and other openings for potential leaks.

How to Winterize an RV: Repairing and Replacing Seals
Now that you’ve found the places where water could potentially enter your home-on-wheels, the next thing you need to know about how to winterize camper seals is how to reseal problem areas. This is also a relatively easy process. Just make sure you pick a dry and relatively warm day so your sealants can fully dry before any rain comes in and before you put the RV cover on.
How to Winterize RV Window Seals
In some cases, you will be able to use a bit of non-sag sealant to repair seams on the tops of your windows. Just make sure you seal the area you wish to seal first.
That said, older RVs might require that the window seals are replaced entirely. In this case, you will need to remove the window, clean the old sealant from the RV using a putty knife, clean the window frame using denatured alcohol, and place butyl tape around the window frame before replacing the window and screwing it back into place.
How to Winterize RV Corner and Wall Seals
Corner seals can be patched using non-sag sealant, as can the seals around lights, outlets, and other fixtures on the outside of the RV. Simply clean the area with denatured alcohol, apply a thin bead of the sealant, and spread it with a clean finger. Using a bit of water on your finger can help with the spreading.
In some cases, non-sag sealant can also be used to patch storage bay seals. However, to properly reseal these doors, you will want to use the window resealing process laid out above.
If your corners get really rough, you may want to remove the molding on the corners and reseal them using butyl tape as well.
How to Winterize RV Roof Seals
Roof seals require a self-leveling sealant rather than a non-sag version. To reseal the roof, simply clean the area you wish to reseal with denatured alcohol and then cover it with the self-leveling sealant. The sealant will spread itself out over the area, so there is no need to move it after applying.
RV Winterize Checklist
Of course, the seals are only one task on the “how to winterize a travel trailer or motorhome” to-do list. Check out our RV winterizing checklist below to figure out what else you need to do to prepare your rig for storage:
- Drain holding tanks and add RV antifreeze to each.
- Empty the water heater tank.
- Winterize the RV water lines.
- Empty pantries and fridge to avoid pests and food messes.
- Check and patch all seals.
- Winterize the generator.
- Disconnect battery.
- Cover the RV and tires.
Take care of these RV winter maintenance tasks and your RV should be safe and sound for the entirety of the winter season. Of course, it doesn’t hurt to check up on the rig from time to time, and paying your motorhome or trailer a visit gives you a chance to do a bit of daydreaming about camping trips to come.
This post contains affiliate links. RVshare may receive compensation if you make a purchase after clicking on a product link.

