Road trips in the RV, with the whole family, are tons of fun. But when you’re on the open road, you’ve got a lot of people with a lot of individual needs, and the last thing you want is to have to stop every hour so that someone can relieve themselves. Fortunately, you don’t have to—you’ve got an RV with a bathroom! Despite the occasional inconvenience of keeping an RV toilet, a toilet is one modern convenience that you definitely want in your home away from home.
Of course, as with any component of your RV, your RV toilet seal and other parts of your mobile water closet, may need fixing and servicing from time to time. Fortunately, these repairs typically are not overly complicated, and if you can take a DIY approach to them, you’ll save yourself a lot of time and money. Here are some things you’ll want to know about your RV toilet seal and your RV toilet in general before heading out with your family in tow.
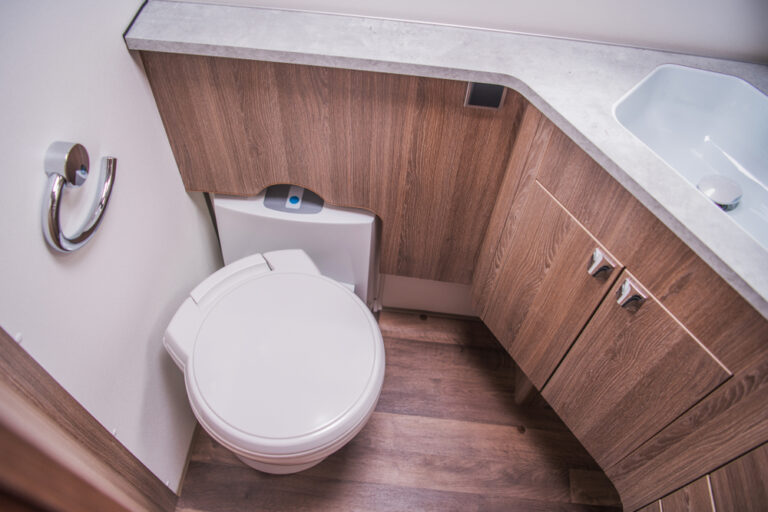
RV Toilet Smell or Leak? A Replacement Seal May Be Necessary
Your RV toilet seal is a small but important part of your bathroom on the go, so it’s essential that it’s in good shape and working properly. A cracked or damaged one could be the source of a bad RV toilet smell. What’s more, if the seal is in really bad shape, it can cause water to leak out and pool around the bottom of the toilet, which can lead to the rotting of the bathroom floor (a costly repair indeed). The good news is that fixing an RV toilet seal is pretty simple, especially if you have someone on hand who can help you do some of the heavy lifting.
First, you’ll need to buy a replacement seal. Make sure the one you’re buying will fit the toilet in your RV, as seals are not a one-size-fits-all proposition. When you’re ready to make the repair, roll up your sleeves, put on some rubber gloves, and make sure that your RV is parked on a level surface. (An incline will make this job much more difficult!) Then, turn off the water valves to the toilet, disconnect the lines, and remove as much water from the toilet as you possibly can.
It is not at all complicated to remove an RV toilet. Once the water is off and disconnected, just unbolt it from the floor and move the whole unit aside; it will probably be easier if you have someone to help you lift and move it. Remove the old seal; if it’s really old or damaged, it should lift right up and off. However, if it doesn’t, you can use a flathead screwdriver to gently pry it off. Take your time with this so you don’t damage the RV toilet flange.
After you get the old seal off, clean the flange, put in the new seal, and use some pipe sealant to make sure it’s seated properly. Let the sealant set a bit. Check the product label for setting times, but it should not take too long, as pipe sealant never really dries out completely. Finally, re-bolt the toilet to the floor, reconnect the water, turn it back on and you should be ready to go.

Fixing Other Leaks
It’s a good idea to know how to do other RV toilet repairs beyond replacing the seal. As with any plumbing fixture, there are a number of little things that can go wrong with an RV toilet and a number of places where water can leak out. Fortunately, whether you’re helming the biggest or the smallest RV with a toilet, doing some basic leak repairs is not hard at all. There are just a few things to know.
First, if the water is leaking on its own (and not specifically when the toilet is flushed) and the seal is in good working order, you’ll want to check the tee fitting or the housing around the inlet valve to make sure nothing is cracked. The RV toilet valve is a common culprit for leaks, as the fitting or the entire valve can wear out. However, if the toilet is leaking only during the flushing cycle, it’s probably one of the inner components that’s not fitted properly or is cracked, worn out or otherwise compromised. In this case, you’ll want to grab a flashlight and check to see where the water is dripping. Chances are, you will just need to replace that one part to solve the problem.
RV Toilet Repair Kits
It’s helpful to know that just about every manufacturer of RV toilets makes repair kits for almost any issue you might encounter. You can contact the manufacturer to order them, and each kit should contain all of the parts you need to resolve your issue: screws, replacement parts, gaskets, and so on. All you need to provide are a few basic tools. It may not be a bad idea to have one or two of these kits stored away in your RV so you’re prepared in case something does go wrong.
When to Replace Your RV Toilet Seat
While a worn-out seat on your RV toilet may be a less pressing concern than a leaking seal, it’s still an important part of the whole operation. If your seat is in need of replacement, or if the one you currently have is just not very comfortable, it’s not a bad idea to swap it out. This is a relatively simple fix, and it’s an affordable one at that. As with any other component of your RV toilet though, before you make your purchase, you will want to make sure that the seat you’re buying is compatible with your commode. Keep in mind that most standard toilet seats (like the ones you put on a toilet in your home) are not compatible with RV toilets.
Gotta Go!
There’s no question that it’s incredibly convenient to have an RV toilet. It makes long trips easier and more efficient, and when you’re parked for the night, you’ll never have to go fumbling through a dark, unfamiliar place to find a public restroom or outhouse. Things will need to be fixed from time to time, but if you’re knowledgeable about your RV toilet and prepared to make a few repairs every now and then, you’ll save yourself a lot of money and more than a few headaches.
