If you are planning a summer road trip in your RV, make sure you’ve checked the air conditioning system in your RV first. Why? Well unless you don’t mind sweating it out during what should be a trip filled with fun and adventure, it’s always good to know you’ll have plenty of that sweet, sweet cool air.
And while you’re at it, why spend money for a technician if you can do the RV air conditioner repair by yourself?
Why not be your own mechanic? Discover the basic how-to of RV air conditioner repair! It’s easy…and it’s free!
Start with the Basics: 2 Main Systems of an RV Roof Air Conditioner
- The Sealed System: This contains the inner workings of the air conditioner. Here you will find the compressor, condenser & evaporator. These all important components work together to cool the cool air.
- The Air Moving System: Here you will find a motor and two fans. One fan moves the air across the condenser and one moves it across the evaporator.
Occasionally one of these systems experiences an issue causing the air conditioner to not work as it should. Don’t panic!
Tips for Common AC Problems
You went outside to set up a grill, and when you go back into the RV the air conditioner won’t even turn on.
First begin by checking the power supply to the RV by plugging something into a 110v outlet. All good? Okay, how about checking the breaker? Chances are good you tripped the breaker. Invest in a multi-meter and test the voltage coming into the RV. If that doesn’t work, call 911. No wait! You’re being ridiculous, don’t do that.
It’s a hot day outside. After several hours of cool air, you notice that the air inside the RV has gotten hotter.
There are several potential causes for the AC not keeping the air cool in your RV.
- The AC unit could be old. It’s not unusual for RV AC units to not cool as well after a few years of use.
- It could simply be too hot outside for your AC to keep up. Depending on the size of your RV, you may need to install an additional unit to keep up on hot days.
- The air filters, fins, and coils are dirty! A build up of grime can dramatically decrease the efficiency of your AC unit.
Are you familiar with these air conditioner problems? How about freeze up, leaking, clogged filters? Your air conditioner needs regular cleaning and maintenance. Here are some tips for DIY cleaning and maintenance to a major tech fee!
4 Easy Steps to Clean Your RV Air Conditioner Unit
- Avoiddeath…make sure your RV air conditioner is unplugged before cleaning it.
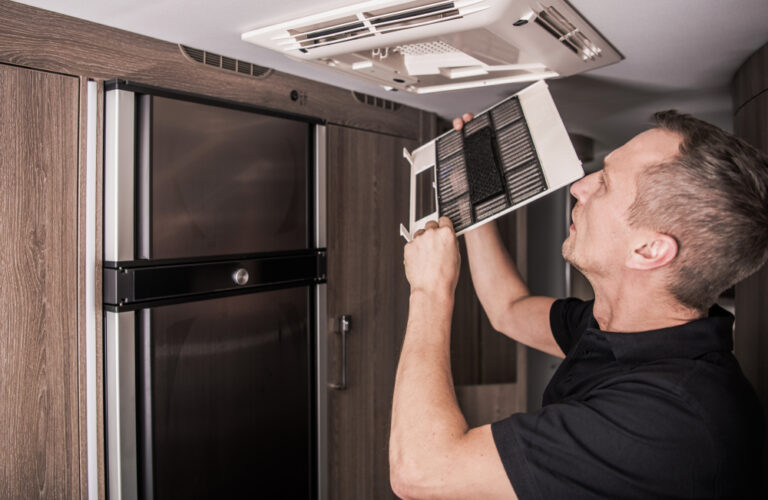
- Clean the Filters: If you use your AC often, the filters should be cleaned at least once a month. Wash them gently with warm water and let them air dry. If they are damaged or torn, buy new ones.
- Clean the Evaporator Coils: With the filters removed you should be able to see the evaporator coils. Use the soft bristle brush of a vacum to remove any dirt or debris.
- Clean the Condenser Coils: Find a safe way to climb on the top of your RV’s roof. Unscrew the bolts and detach the shroud from your air conditioner unit and set it aside. Vacum out the dust. Spray the coils with a product such as Air Conditioner Coil Cleaner. Follow the instructions and make sure not to damage the coils.
5 Tips for Maintaining Your RV Air Conditioner
- Manage your thermostat settings:
While the whole idea of an RV air conditioner is to keep the air cool, it’s important that you don’t overload the capacity of your RV. Instead of setting it at a low temperature, try simply turing the fan to “on.” This way it will adjust the temperature when it gets to the desired heat/cold and distribute the cool air in your RV. The advantage to keeping your temperature at a moderate setting is that your AC unit will preform better and have a longer life. - Open the roof vent every once in a while:
If you’re spending time outside and don’t need the air conditioner to be running, open up a roof vent and let the moist evaporate. This simple trick can prevent damage to your AC unit. - Check the condenser at least twice a year:
If you have a blocked condenser coil due to dirt or leaves, it wouldn’t cool the inside of your RV. Prevent by checking it on a regular basis. If it still isn’t cooling, it might need to be replaced. - Oil the Fan: The fan inside the AC unit works hard to keep the air circulating. To keep it in good working order be sure to keep it well oiled.
- Cover the AC unit in the off-season: Prevent costly repairs by purchasing an inexpensive cover for when your RV is not being used.
Overall, troubleshooting your RV air conditioner should be as easy as checking the power source, cleaning it every now and then, and preforming proper maintenance.
Remember these tips and you’ll have the coolest RV adventure ever! Let us know your RV tricks and tips in the comments below.