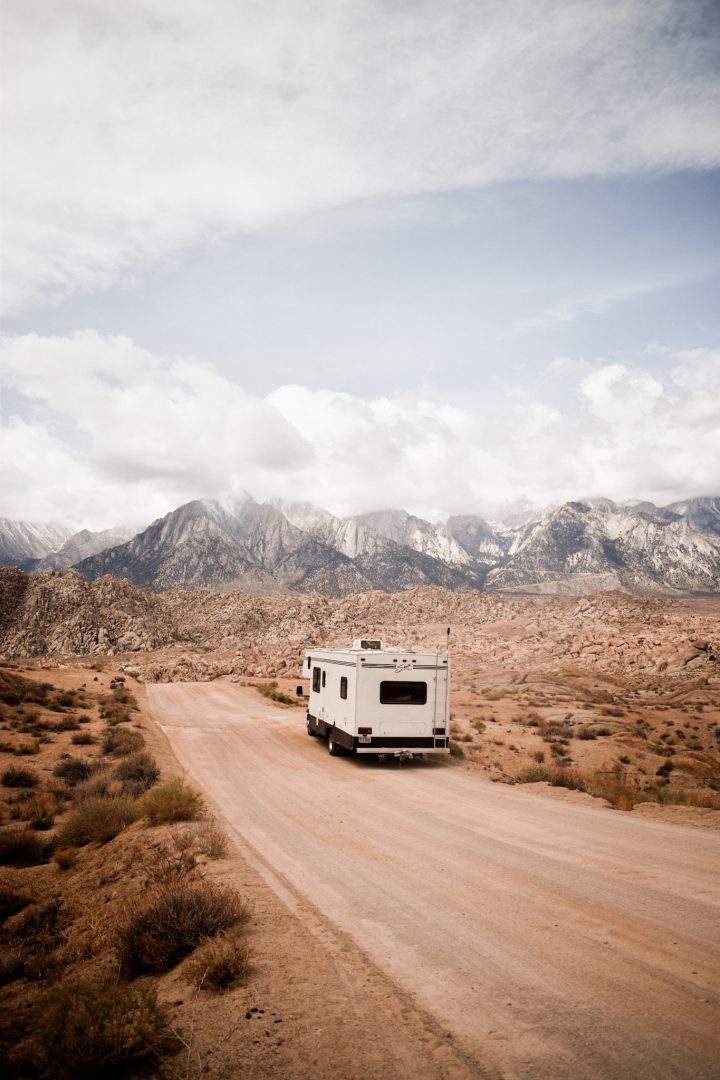
There are many benefits to adding solar energy to your rig. If you are wanting to stay off-grid longer and reduce your carbon footprint at the same time, here are the steps we have taken to install a solar system in our Class C motorhome.
Before you decide to tackle this job on your own, you will need to know the particulars of your RV and your RV’s electrical system and be comfortable with them. As there can be an overwhelming amount of things to consider while installing a solar system, we do recommend consulting with a professional if you have any doubts whatsoever.
Back Story
We made the choice to upgrade to solar after a series of mishaps with our onboard generator. Staying primarily off-grid and working online full time without reliable electricity posed a serious problem to us. After our onboard generator failed and we were quoted anywhere from $2000 to $4000 dollars to repair it, we decided that going the solar route was a cheaper option and overall a more worthwhile investment. The total cost of our setup is approximately $800.
How The Solar Power System Works
The solar panels are wired into a charge controller which is then connected to your RV’s house batteries. Your house battery bank will essentially be where the power comes from, while the solar panels work to maintain the charge. Many people will stop here, but there is also the option of connecting an inverter to your batteries which will then allow you to use AC power straight from your batteries. If you are a visual learner, refer to this diagram:

Getting Started
Here are the items we used:
- Renogy 400W 12-volt solar starter kit
- Dicor Lap Seal
- Krieger 1100 Watt 12V Power Inverter
- 2, 12-Volt Deep Cycle Batteries
Determine how much power you will need. Our RV has 2 deep cycle 12-volt batteries wired in parallel. For every 12-volt battery, you should have at least 200 watts of solar panels to maintain them. As we have 2 batteries, we have 4 100 watt panels on our RV. Having the correct amount of solar power going in will prevent your batteries from becoming over-discharged and allow you to go longer without the need for shore power.
Adding The Panels

Layout your solar panels in a way that makes sense on the roof of your RV. You will want to consider the location of your battery bank and where you will be keeping your charge controller. It is common to run the wires from the solar panels through your RV’s refrigerator vent to prevent drilling any additional holes in your roof.
Since our battery bank and our refrigerator were on opposite sides of each other, I needed to create a new hole for the wiring. Doing so was definitely the most nerve-wracking part of the job, thinking of the potential water leaks I could be creating. After creating the new hole and adding lap seal, I placed a junction box over the hole with an entry on the side for the wires, that way the entry would not be directly exposed to the elements.

Drill your panels to the roof using the brackets provided in the kit and cover each screw with the Dicor lap seal to prevent any leaks. Each panel has 2 connections, which will be consolidated into a single positive and single negative using the Y-connector provided in the kit.
Connect The Charge Controller
Next, find a good location near your battery bank to mount your charge controller. We mounted ours under our couch, which is directly above where our batteries are located. You will want to refer to your solar kit’s instruction manual to ensure you are connecting the panels to the charge controller correctly.

You will then use the wires from your kit to connect the controller to the positive and negative connections of your batteries. As a safety measure, I made sure to disconnect my house batteries in the RV before touching any wires. Once you have done so, the controller should light up to indicate that it is working properly.
Congratulations! You now have solar panels installed to keep your house batteries charged!
Adding the Inverter
As I mentioned, you also have the option of adding an inverter. Doing so is incredibly easy and worth it in our opinion, if you ever want to use 120-volt appliances while you are off-grid.
We mounted our inverter under our couch as well. To install it, simply connect the positive and negative wires to your house batteries. The inverter we purchased can handle up to 1100 watts, which is plenty for our purposes.

Conclusion
With this solar power system, we can use everything that would run from our house batteries normally, such as lights, our water pump, refrigerator, radio, and more. The batteries are NOT able to operate our very high voltage appliances such as the air conditioner and microwave, however. For a complete video on how we installed our solar setup, check out this video.
We have been very happy with how well this simple solar setup works. We would not be able to go the places we have without it! Now that you have made the investment to go solar, you are ready to enjoy the freedom of being self-sufficient and help the environment while doing so. See you on the road!
Learn more about solar and electric: Plan for your electrical system with tips, products and suggestions from van builders.

