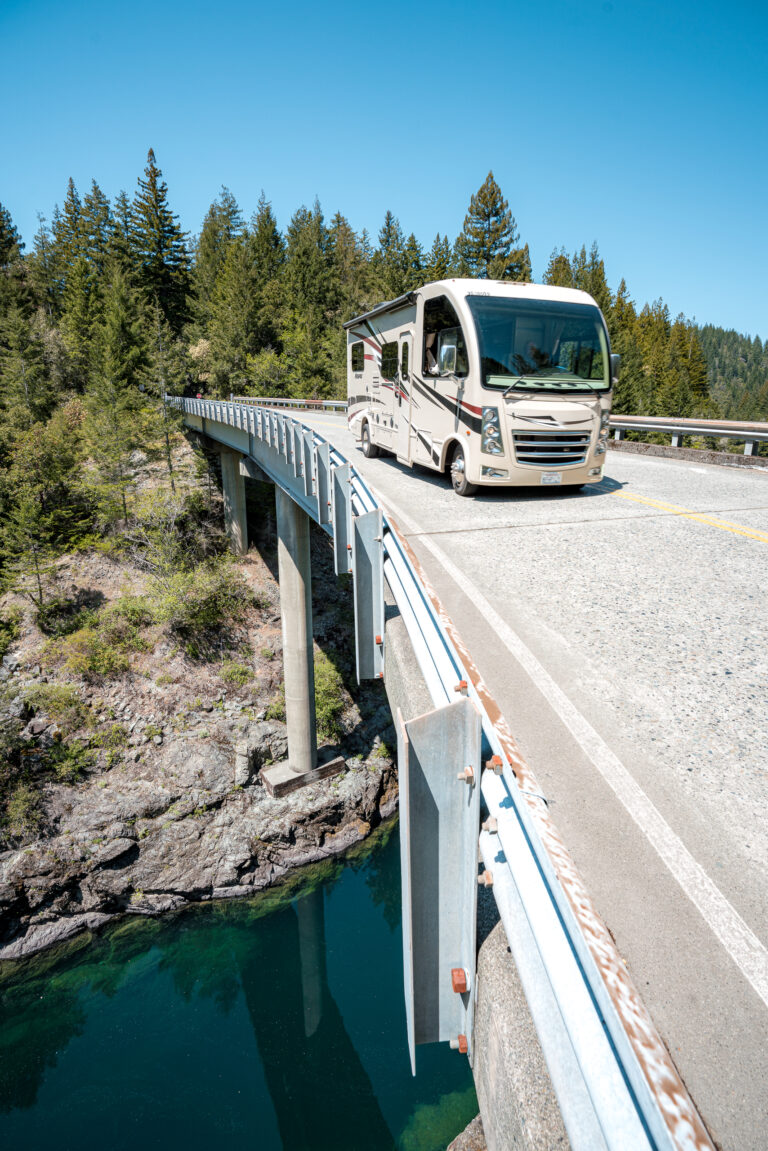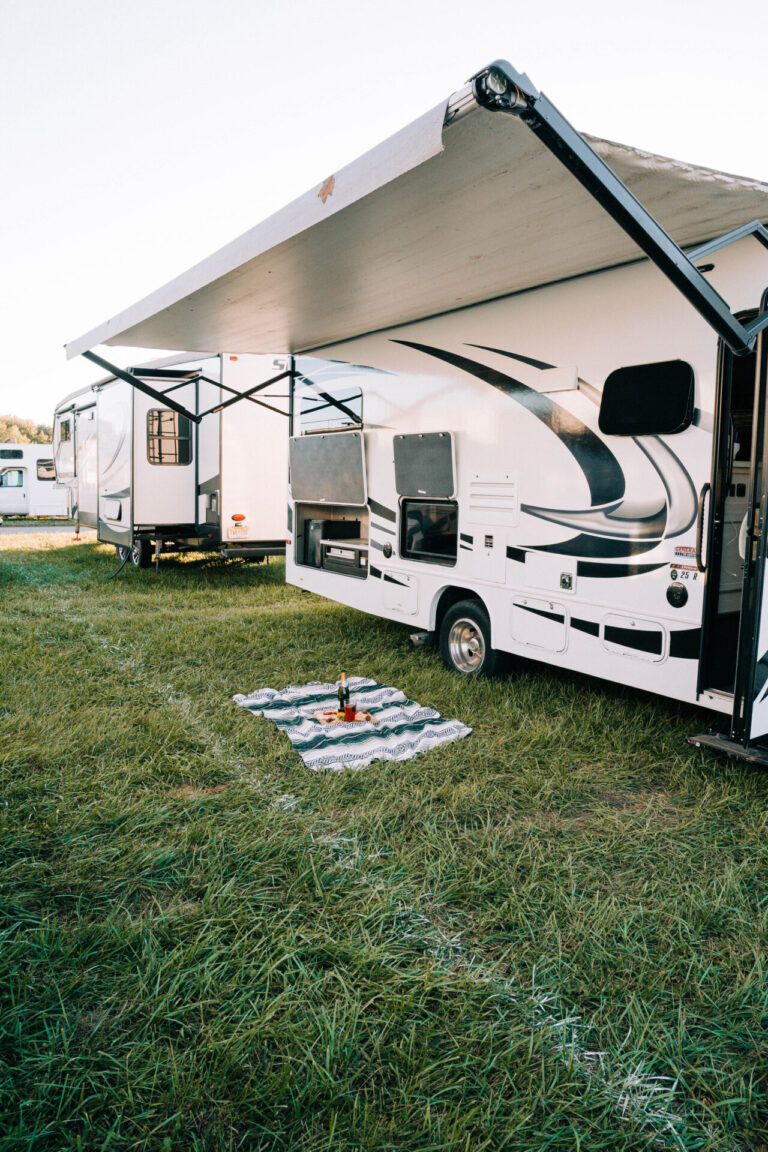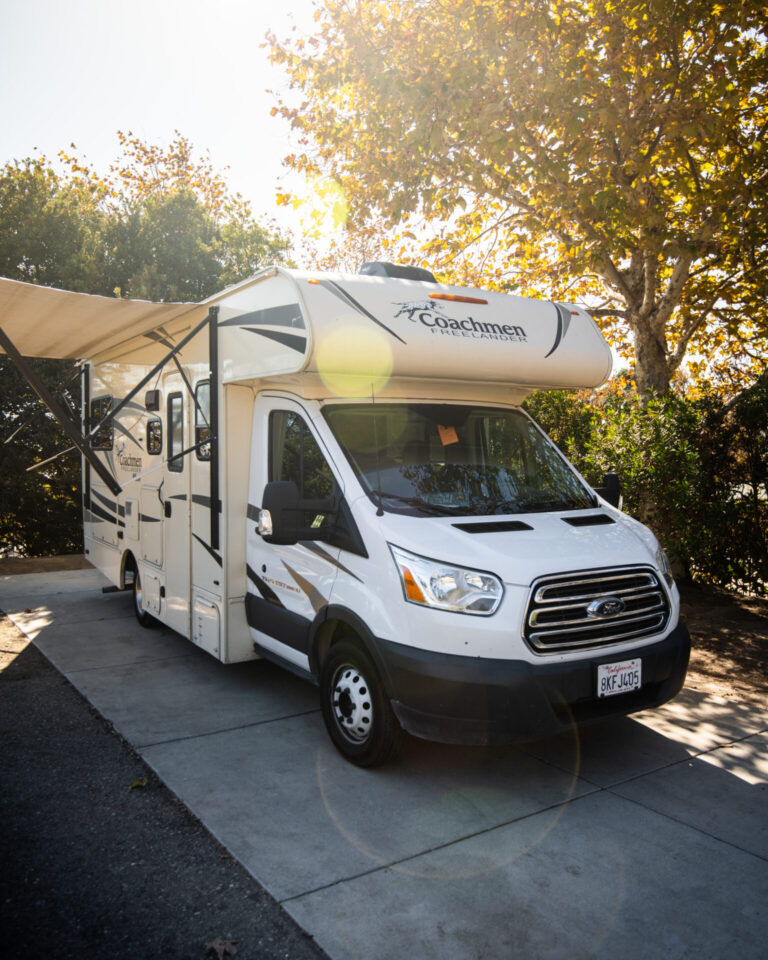
It’s that time of year again, time to get your RV out of storage and hit the road. But wait! You still need to dewinterize your RV to ensure safe travels. Before you pack up your family and head to a campground, spend an afternoon checking out your rig and preparing it for the season ahead.
There are many issues that can easily become problems if not attended to. Taking the time to properly dewinterize an RV will ensure a safe and problem free RVing season.
Every RV varies slightly in its dewinterizing needs, however, there are some basic steps that apply to all RVs. Here are 10 simple steps to dewinterizing an RV.
#1: Charge the Battery

What you will need: Battery Charger
Your battery has been cold and unused all winter long. Now is the time to start charging the battery by removing the winter covers from the exterior of your rig. The battery charger should remain in the off position while you connect it to the RV charger. Connect the red cable to your RV’s red indicator. Next do the same with the black cable to the black indicator. Make sure your voltage is set to 12 volts. Turn your power on charge. This process may take a few hours, or up to a few days, depending on the size or your batteries. If your RV has more than four batteries, allow an overnight charge just to be on the safe side. Charging your batteries is an important step in dewinterizing an RV.
#2: The Big Flush
What you will need: Garden Hose & Timer
You need to flush the entire RV water system of the antifreeze that you added when you winterized. Do this by attaching a garden hose from a water faucet to the water hookup of your RV. Open all the faucets. Turn on the hose and let the water run through the system flushing out the antifreeze and any impurities. It helps to use a timer for this process. You will want to flush your water system for at least 10 minutes. Watch for the water to become a clear color. This will remove any lingering antifreeze that remains in the system. While you are waiting, flush the toilet several times.
#3: Propane on Board

What you will need: Propane Tanks
If your RV uses propane you’ll want to remove them from storage and place them back on their mount. The location of the mounts will vary depending on the type of RV. Connect your propane hose from the tanks back into your rig. Propane needs will vary from rig to rig. If you have a Motorhome you may need to go to a propane station to fill your tanks.
#4: Tighten Connections
What you will need: Damp Sponge
Hose lines require tight fittings. To ensure you have your propane tanks connected properly, try this tip. Turn your propane valve just slightly to open the line. Now place a damp and soapy sponge at the end of the connectors. Do air bubbles form? If so, you may have a leak in your line. Recheck or replace the connections. No bubbles? Then you are good to go! Tight fittings are key to successfully dewinterizing an RV.
#5: Shut off the Flow
By now your water lines should be fully flushed out and ready to go. Turn off the hose and remove it from your RV. You will need to dump your water tanks (black, gray, and fresh water) at an official dump station. Once you have dumped your tank refill with fresh potable water.
#6: Disconnect the Power
Remove the battery charger and put your batteries away. Follow your manual’s instructions as each type of RV is different. Be sure to connect the black cable to the battery’s black terminal. You want it to be grounded. Once this is secure, you can connect the red cable to the red terminal on your battery.
#7: Check the Tires
What you will need: Tire Pressure Gauge
Check your tire pressure on each of your RV’s wheels. Your manual will tell you the correct pressure for your tires. Be sure to inspect the tread of the tire and look for any wear or cracks. This is an important step if you want to avoid a blowout. If your RV is equipped with a spare, be sure to check that as well.
#8: Change the Filters
What you will need: Filters
Always change your filters. If you have an air filter change it. If you use a water or air filter, change those too. Feeling energetic? Rinse your window screens. These screens will act as filters throughout the summer so make sure they are clean and bug-free!
#9: Check the Pipes
What you will need: A Flashlight
Crawl under your sinks and check for any cracks in the drain trap. Turn on the water and let it run. Are there any leaks? If so, they will need to be repaired before they cause permanent damage. Use your flashlight to check anywhere that water might leak including around the edge of the toilet. Water leaks always cause problems in the long run. Successfully discovering issues before they happen means you did a good job dewinterizing an RV.

#10: Get Your Pump On
Finally, you want to check your water pump to make sure it’s working. Shut off the outside water and make sure you are only using your RV water tank. Now, turn on the electric pump. Make sure all your faucets are closed. Give the pump a few minutes to reach full pressure. It should stop running. Wait and listen. Do you hear the pump start again? If not, you are good to go! If it doesn’t stop you may have a leak in the line or within the pump itself. Take a few minutes and listen to the pump before you make this assessment. If it’s leaking, you will need to fix it prior to traveling to optimal safety.
That’s it! You have completed all 10 steps to dewinterizing your RV. Congratulations! You are ready to pack your fridge with food, fill your tank with fuel, and head for the great outdoors.
Was this article helpful? Is there something else you feel should be on this list? If so, add it to the comments below. We love to hear from you. Know someone who could use this info? Great! You don’t want to wait. Tweet it, pin it, share it, or like it. Send it to friends and family and spread the word. THANKS!


