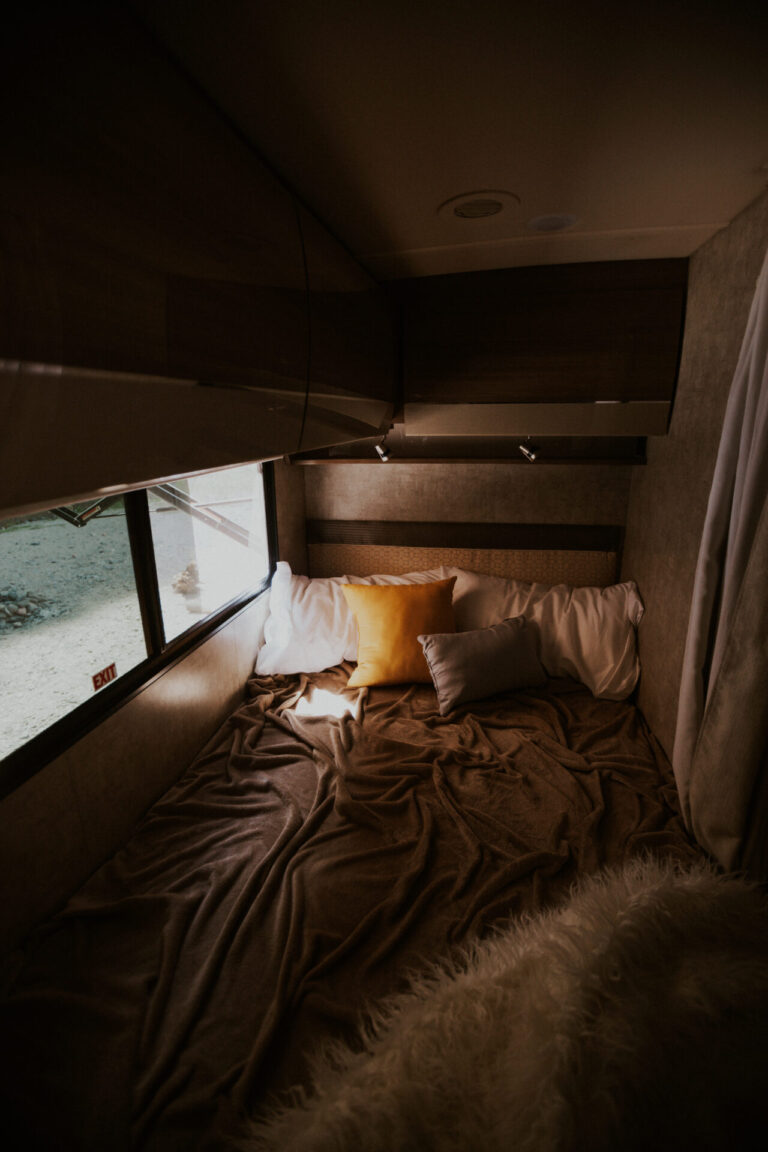
Many people consider their RV to be a home on wheels, and no one wants their home to be dull and boring. One of the easiest ways to add some interest to the interior walls of your RV is with wall decals.
These vinyl adhesive decals are easy to find and are available in virtually any design from landscapes, favorite sayings, or even custom lettering.
RV wall decals are available around the Internet on sites such as Cafe Press, Etsy, Wall Decor plus More, Walls Need Love, and many more.

Tips for Applying RV Wall Decals
Once you have a decal of your choice, it is time to put it up and give your RV an upgraded interior.
The most important thing to remember is that the surface where you intend to apply the decal should be clean, flat, and smooth.
- Wipe the wall with a soft cloth to remove any dust.
- Hold the decal up to the wall and mark where you want it to go with tape.
- Place the decal on a flat surface, graphic side up, and slide a squeegee or credit card across it. Then flip it over and do the same thing on the other side. This step will help the decal stick to the clear transfer tape when you peel it off the backing paper.
- Carefully separate the white backing paper from the clear transfer tape.
- Slowly stick the decal on the wall, using a squeegee or credit car to remove any air bubbles or wrinkles.
- Very carefully peel off the clear transfer tape, leaving the design on the wall. You might have to apply pressure to make sure the decal is flat. Make sure you take your time with this step.
Once you have completely removed the clear transfer tape, the RV wall decal will be affixed to the wall and you will have a rejuvenated look!


