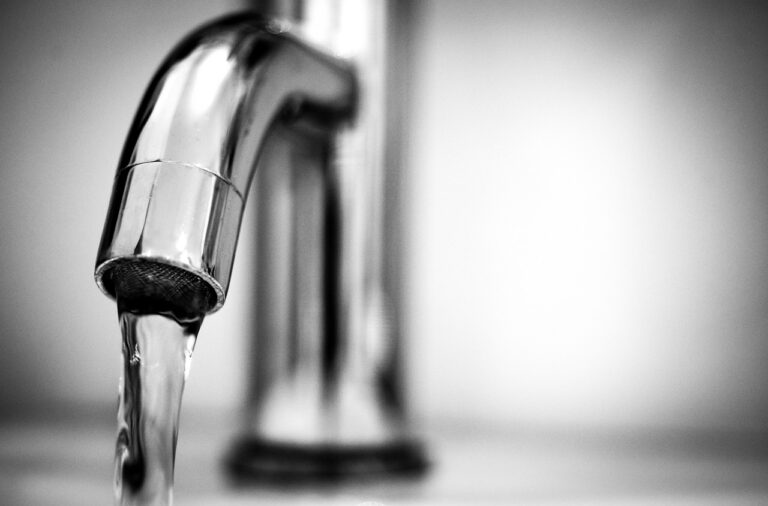
Most of us are lucky enough to never have to give a second thought to having a ready supply of clean water for washing, bathing, and drinking. But when you’re in an RV, that faucet of yours isn’t automatically attached to the plumbing grid. You’ve gotta attach yourself to city water with your potable water hose (yes, they’re different than normal hoses, and always white in color!) or fill up your freshwater holding tank for your upcoming boondocking adventure.
Later on, you’ll need to take care of the other side of things, using an RV sewer hose to drain both your black and grey water tanks when it comes time for your RV to “go.”
Bottom line: it’s just not as simple as thoughtlessly turning on your tap when it comes to your RV’s water system.
But it’s not all that complicated, either. And with a little bit of love, you can keep your RV’s pipes and tanks working for many happy camping years to come.
Here’s what you need to know about how your RV’s water system and plumbing work, and how to keep them running smoothly.
How an RV Water System Works
Curious about your RV’s plumbing system basics? The design is actually pretty basic and easy to understand.
Your RV has a number of water holding tanks, usually three: fresh, black, and greywater. The first tank is the one you fill up with a supply of fresh water to use for washing your hands, brushing your teeth, doing the dishes, flushing the toilet, and even drinking if you’ve got an impeccably clean tank and a trustworthy water supply.
The other two tanks hold wastewater — the “black” tank catches all the waste from the toilet and the “grey” tank holds everything else. All of these tanks are accessible for filling, draining, and cleaning purposes from the outside of your RV. The tanks are connected to your faucets, shower, and toilet by a series of pipes. There’s also a hot water heater in order to provide hot water. Pretty basic, right?
For more information on your specific RV’s water system operation and parts, check out the water system schematic, which should be made available by your manufacturer.
But now that we’ve got a basic understanding of what your system looks like, let’s talk about how to keep it at peak performance!
Flushing Out an RV Water System
Regular cleanings are an important part of any RV water system’s maintenance routine, and it’s not difficult to achieve. Always thoroughly cleanse your water systems before and after each camping trip.
To do so, start by draining your RV water system completely. You can go a step further by blowing out your RV water system to truly ensure all the lines are totally free of any leftover remains. (You’ll also need to blow out your RV’s water lines after winterizing your rig using RV antifreeze, which we’ll get to in a minute.)
Blowing out your RV water system with air requires the use of an RV blow-out plug, which will help you ensure your lines are totally clean and empty. Once you’re sure they’re totally empty, it’s time for the next step: bleaching and disinfecting your RV water system.
How to Sanitize an RV Water System
Fill your RV fresh water tank halfway with fresh water and add a quarter cup of bleach plus one gallon of water for every 15 gallons of total tank capacity your RV has. Open all the faucets and allow the bleach solution to run through them, and any leftover air from the blow-out process. Let your rig sit for several hours after the tanks are empty to allow any leftover bleach solution to evaporate. Then, re-fill your RV’s water tank and run it all out again, twice, before you fill it with water you actually intend to cook, wash, and bathe with.
Another way to keep your RV’s water system as clean as possible is to ensure you have the best possible filter installed on your fresh water supply. CLEARSOURCE Premium RV Water Filter Systems are a popular choice amongst RVers, and while they’re not inexpensive, it’s a worthy investment that will last your rig for years to come.
You should also regularly wash out your RV’s wastewater holding tanks, as doing so allows your RV’s tank sensors to get a more accurate reading and alert you when your tanks are getting full. Don’t worry, this job isn’t as dirty as it sounds! Here’s our guide on how to do so — all it takes is a little bit of soap and some patience.
RV Water System Maintenance
While keeping your RV’s water system clean is a critical part of maintaining its working condition, it’s not all you need to know!
You should also consider investing in an RV water pressure regulator valve for when you’re hooked up to a city water supply. This valve will help check and ensure that your system isn’t being overloaded by too much water pressure, which can damage the sensitive workings.
If you’re planning on traveling during the cold season, it’s also imperative that you figure out how to winterize an RV water system. It might sound complicated — how is RV antifreeze different from the regular stuff? How do you ensure it stays out of your potable water supply? — but don’t worry, we’ve got you covered.
Read this post to learn more about how to winterize your rig; we wrote it for people getting ready to put their RVs into winter storage, but the steps are the same if you’re taking your RV out on the road, too. And check out this post about common RV winter problems and how to fix them, including a rundown on everything you need to know about RV antifreeze.
By taking good care of your RV’s water system, you’ll have a smoothly-working set of pipes for many more camping trips to come. After all, a water supply is a nice thing not to have to worry about!
This post may contain affiliate links.
