Everyone wants to have running water in their RV. This is what makes RV faucets so important. Unfortunately, many older RVs come with plastic faucets that can become faulty and leaky over time. By replacing your faucets, you’ll be able to reduce your overall water use and add a modern touch to your camper’s kitchen and bathroom.
This post contains affiliate links. RVshare may receive compensation if you make a purchase after clicking on a product link.
Choosing an RV Sink Faucet
While you can absolutely shop for an RV-specific sink faucet, it’s good to know that nearly any faucet can be retrofitted to work with your camper sink. This means you can stop by pretty much any home improvement store and leave with a replacement faucet for your rig.
Choosing an RV Kitchen Sink Faucet
Not sure what to look for in an RV kitchen sink faucet? We have a few suggestions. We recommend looking for the following features:
- Lightweight – You don’t want anything too heavy, as you need to keep total camper weight to a minimum.
- Sturdy – While you don’t want anything too heavy, you also don’t want a faucet that’s going to break quickly. Try to find a balance between durability and weight.
- Easy-to-Clean – Camping can get dirty. Do yourself a favor and avoid anything that might be difficult to clean.
- Single Hole, Double Hole, Centerset, or Widespread – Some RV kitchen sinks have a single hole for the faucet. Others have a second hole for an accessory or 3 holes for a centerset or widespread faucet with handles. Know which type you have.
- Neck Height – If your sink is shallow, you might prefer an RV kitchen sink faucet with a high neck to allow you to get dishes underneath.
- Sprayer – Many people also like RV kitchen sink faucets with built in sprayers to make cleaning up easier.
- Color and Style – Obviously, you want something that you like the look of.
Choosing an RV Bathroom Sink Faucet
When picking out an RV bathroom sink faucet, you’ll need to consider the same sorts of things, but in relation to your bathroom. Something lightweight, sturdy, and easy-to-clean is best. You’ll need to check on how many holes your bathroom vanity provides for the sink faucet. If your sink is raised at all, you might need to find something with a higher neck.
When choosing your RV bathroom faucet, be sure to account for any obstructions on or near the vanity that could make turning handles difficult or impossible. Obstructions are relatively common in the small spaces provided by an RV.
Installing Your New RV Faucet
Now that you have the perfect faucet picked out, it’s time to get started with the replacement process:
- First, shut off the water supply and water pump, and clear out any clutter from beneath your RV sink or shower.
- Using a wrench, disconnect the hot and cold water lines from the old faucet.
- Take off the nuts or screws that connect the faucet to the sink or shower.
- Remove the existing RV shower faucet or sink faucet.
- Using the nuts or screws from your new faucet, attach the replacement faucet to your sink or shower.
- Connect the hot and cold water lines to the new RV sink faucet or shower fixture.
- Turn on your water supply and run the water to ensure everything is working properly.
- Once you’ve made sure there are no leaks, run the water for a few minutes to flush out any debris from your RV faucets.
Choosing an RV Shower Head
In addition to the sink faucets, you may also want to consider replacing your RV shower head. Fortunately, you can replace an RV shower faucet with any residential showerhead you like. This is a simple upgrade that almost anyone can change and it makes a huge difference.
Why does this simple replacement make such a big difference? The truth is, most RV manufacturers skimp in the shower, knowing the new owner will most likely customize. Factory shower heads are usually made of cheap plastic and tend to offer poor water pressure while still somehow using more water than is necessary. Meanwhile, older shower heads may drip, rot or split early in the rig’s life. The good news is, there are some affordable, easy-install options.
Things to look for when shopping for a replacement RV shower head include:
- Lightweight – Like your RV sink faucets, you’ll want to make sure your RV shower head is lightweight.
- Sturdy – Of course, you want something durable that’ll last a long time as well.
- Easy-to-Clean – Something without a lot of crevices is much easier to keep clean.
- Good Water Pressure – Water pressure is a biggie. We recommend looking for something like an Oxygenics shower head, which actually increases water pressure without increasing water usage.
- Limited Water Consumption – Water conservation is key when you’re boondocking. Look for a shower head that uses 2 gallons per minute or less.
- Features – Features can make an RV shower head even more enjoyable. Look for a shower head that offers different sprays, so you have options.
- Color and Style – Finally, you will, of course, want to look for something that you like and that matches your bathroom.
Replacing Your RV Shower Head
Once you have the perfect RV shower faucet picked out, the next step is to install it, of course. The good news? This is super super easy to do and in most cases will not require any tools at all.
- Generally speaking, RV shower head mounts are universal, meaning you shouldn’t have to replace that part at all.
- First, turn the current RV shower head to the left to unscrew it from the hose it is connected to.
- Next, put the new shower head on the end of the hose and turn it to the right to screw it into place, making sure it is snug.
- Turn the shower on to make sure the connection is leak-free.
Keeping up With RV Faucet and Shower Head Maintenance
To keep your faucet and shower head in tip-top shape, regular maintenance should be a part of your routine. Clean your faucets and shower heads at least weekly with soap and warm water or a gentle cleaning product. If your RV uses hard water, you may also need to use a window cleaning product or CLR to clear away any hard water deposits.
Once a year, consider removing the aerator from your RV kitchen faucets or bathroom faucets. Using an old toothbrush, scrub them clean to remove any debris or deposits.
Repairing a Leaky RV Faucet
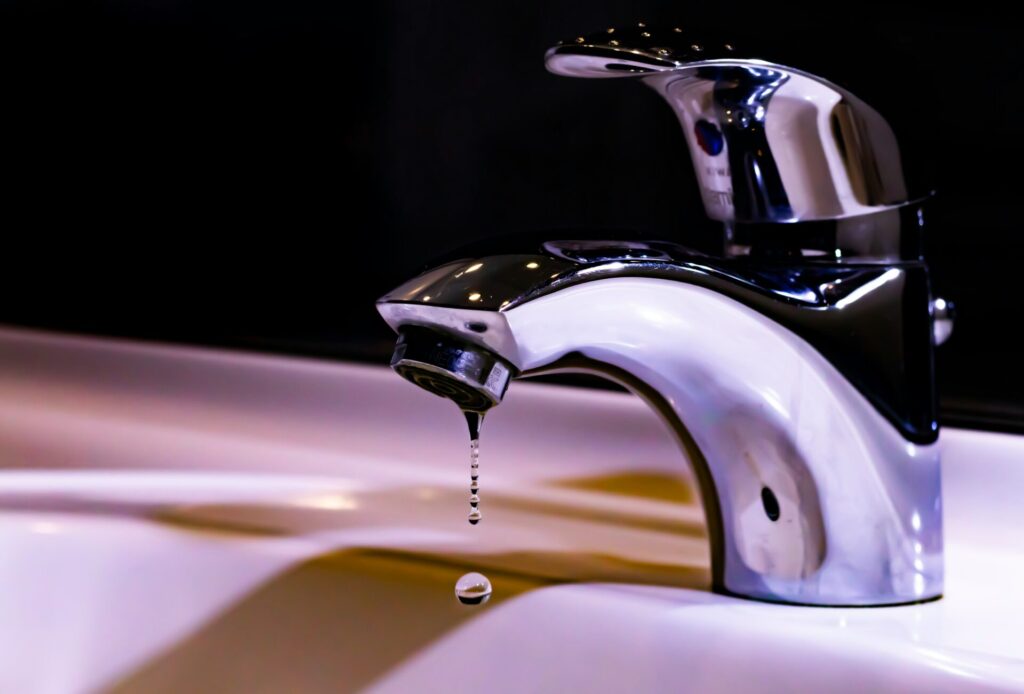
Even after you’ve replaced your RV faucets, from time to time, you may find that it starts leaking. Don’t panic — in most cases, this is a simple fix that can be accomplished in less than an hour’s time.
To repair a faucet with a leak from the handles, follow the steps below.
- First turn off the water at the spigot and ensure your water pump is turned off.
- Plug the drain to avoid losing small parts and pieces.
- Remove the handles by popping off the decorative covers on the top of each handle and unscrewing the handle from the base.
- Use a wrench to unscrew the packing nut holding the parts under the handle in place.
- Pull or twist the valve stem out.
- Find and replace the small, rubber washer under the valve stem.
- Reassemble everything.
At this point, you know about all there is to know about RV faucets. Hopefully this information helps you choose and install the perfect faucet or shower head for your needs. Once that’s done, why not share your awesome RV upgrade with others by listing your rig for rent right here on RVshare?
