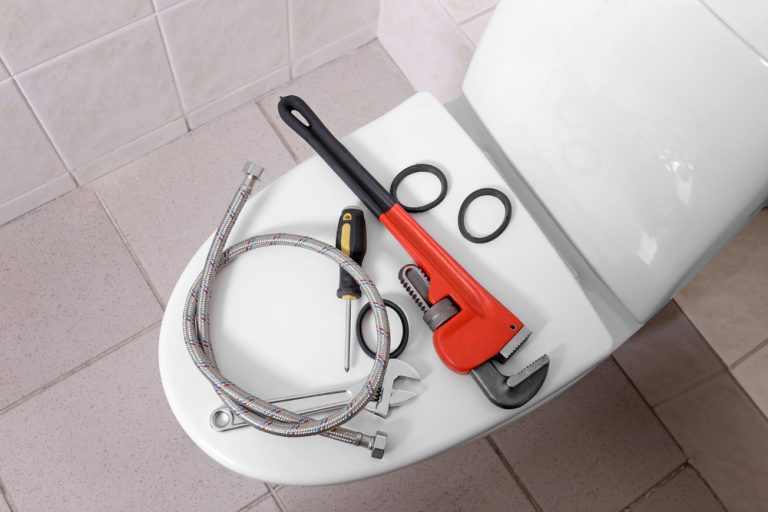

RV toilet replacement can seem like a difficult task that requires a professional, but it doesn’t have to be! When you’re armed with the right information, the fix can be as simple as RV toilet replacement, RV toilet water valve replacement or a complete RV toilet replacement, which is easier than it sounds! Here are some of the basics about RV toilet replacement.
First, it’s important to really make sure you need an RV toilet replacement, and not just a repair. A common mistake is that if a toilet is leaking, you need an entirely new toilet system. In some cases, instead of an RV replacement toilet, you simply need an RV toilet valve replacement.
RV Toilet Water Valve Replacement
If you suspect you need a RV toilet valve replacement, there are some easy steps to take to double check. We recommend completing this process before ordering a new RV toilet, as replacing a valve is a much less expensive option than replacing an entire RV toilet replacement.
- Once you are parked on a level surface, fully dump your black tank and turn off the water pump in the RV and the water for your toilet.
- Unscrew the toilet base cover and the toilet handle, removing the pieces and making sure to set the screws aside in a safe place. Find the water valve in the back of the toilet, unscrew the valve and toss those screws, as they are often corroded.
- Locate the small mesh net in the back of the toilet, and take this opportunity to clean it, as minerals or other matter can sometimes build up, blocking the flow of water.
- Next, attach the new water valve using the new screws that accompanied it. Once it’s securely attached, turn the water and water pump back on, and look for leaks. If leaks still persist, you may have a larger issue that the RV toilet water valve replacement could not fix.
If you’ve completed RV toilet valve replacement and still are seeing issues, there are other RV toilet replacement parts worth looking into. These include:
Water Module – If you’re experiencing water leaks within your RV toilet system, it could be a problem with your water module. The water module connects the toilet to the water supply, and without a properly working water module, you may experience leaks or not having water to use the toilet at all. Typically, these RV toilet replacement parts are easy to purchase and install.
Seal and Valve – The seal and valve act as a barrier and keep odors from entering the bathroom. When the seal and valve are working properly, there is a small amount of water that is held in place. If you notice water is no longer being held, or notice an increase in foul odors in your bathroom, this RV toilet replacement part may need to be replaced.
Foot Pedal Flush – Most RV toilets have a foot pedal flush instead of the conventional handle flush that is found in most home toilets. Keep in mind that most foot pedals operate differently from one another, so it may require some trial and error to determine, first, how it works and behaves, and second, if it needs to be replaced, if it’s possible to replace or if a replacement RV toilet is needed.
Hand Flush – A hand flush device works similarly to a foot pedal device, although it looks different and is positioned differently on the toilet. It also may need trial and error to determine if it’s possible to replace or if a complete RV replacement toilet is a better option.
Seat and Cover – these are two of the simplest RV toilet parts to replace – if they’re broken, replace them!
If you’ve looked into RV toilet valve replacement and other RV toilet replacement parts and still need an RV replacement toilet, it’s an easier process than you may think! You may not need the help of a professional, just some simple tools and an hour or so of your time.
First, when looking for an RV replacement toilet, you’ll want to ensure you’re purchasing one that fits into the existing space. Make sure to measure and write down the existing toilet sizes, the space that the toilet fits into and make notes of the toilet bowl shape. You also need to make notes of how the RV toilet is mounted and the size of the toilet hole.
Next, make sure you’re aware of the different features found in RV replacement toilets. There are a wide variety of features and options available, including antimicrobial, low water, composting, ones with bidets or spray units attached and much more. There are also a variety of options for the flushing system, including gravity, electricity and air. However, the size of the waste hole can limit your choices for flushing systems – those with a larger hole have more options. You also want to know how you’d like to flush the RV toilet, with options including a foot pedal, slide handle, hand-held handle and electric push-button.
When selecting a replacement RV toilet, you also want to make sure you know what material, color, style, shape and size toilet you’d like in your motorhome. It’s also important to know that a RV toilet replacement typically needs to be ordered, and can take several weeks to arrive.
Once you’ve received your RV replacement toilet and are ready to install it, here are the steps:
- First, make sure to turn off the water pump and flush the toilet, to ensure you’re removing all the pressure and water in your toilet bowl and water lines.
- Next, it’s time to remove the old toilet to get ready for the RV replacement toilet. Start by unscrewing the nuts and bolts holding the toilet down, and disconnect the hose. Lift the toilet straight up to remove it, rocking it back and forth, if it is hard to remove or seems stuck.
- You want to make sure you’re draining your RV waste tank completely at this point, so you aren’t working with plumbing connections or water lines that are full. For safety, wear rubber gloves, don’t touch your eyes, mouth and wash your hands thoroughly when you’re finished with this step
- Next, it’s time to remove the gasket that seals the toilet to the floor. Once it’s removed, clean up any gunk left on the floor and get ready to install the new rubber, cone-shaped gasket that is included with your RV replacement toilet. If you have trouble removing the old seal, you can pry it off with a screwdriver.
- Now it’s time to install the RV toilet replacement! Carefully place it on top of the gasket seal, taking your time and ensuring that the mounting holes are lined up perfectly so that the new bolts fit into the old holes. When it’s lined up, use a wrench to tighten the nuts over the bolts, but being careful not to overtighten. Once you’re confident the toilet is secured, test it out by sitting on it and making sure it’s not wobbly.
- Next, attach the hose behind the toilet, again ensuring it’s not overtightened. Once it’s attached to your RV replacement toilet, you can turn the RV water pump on and flush it, looking for leaks. If you spot any, go back and check your work.
When you follow the steps for RV toilet replacement, RV toilet replacement parts or RV toilet valve replacement, you can have a working toilet in your motorhome in no time – no professional help needed!
